
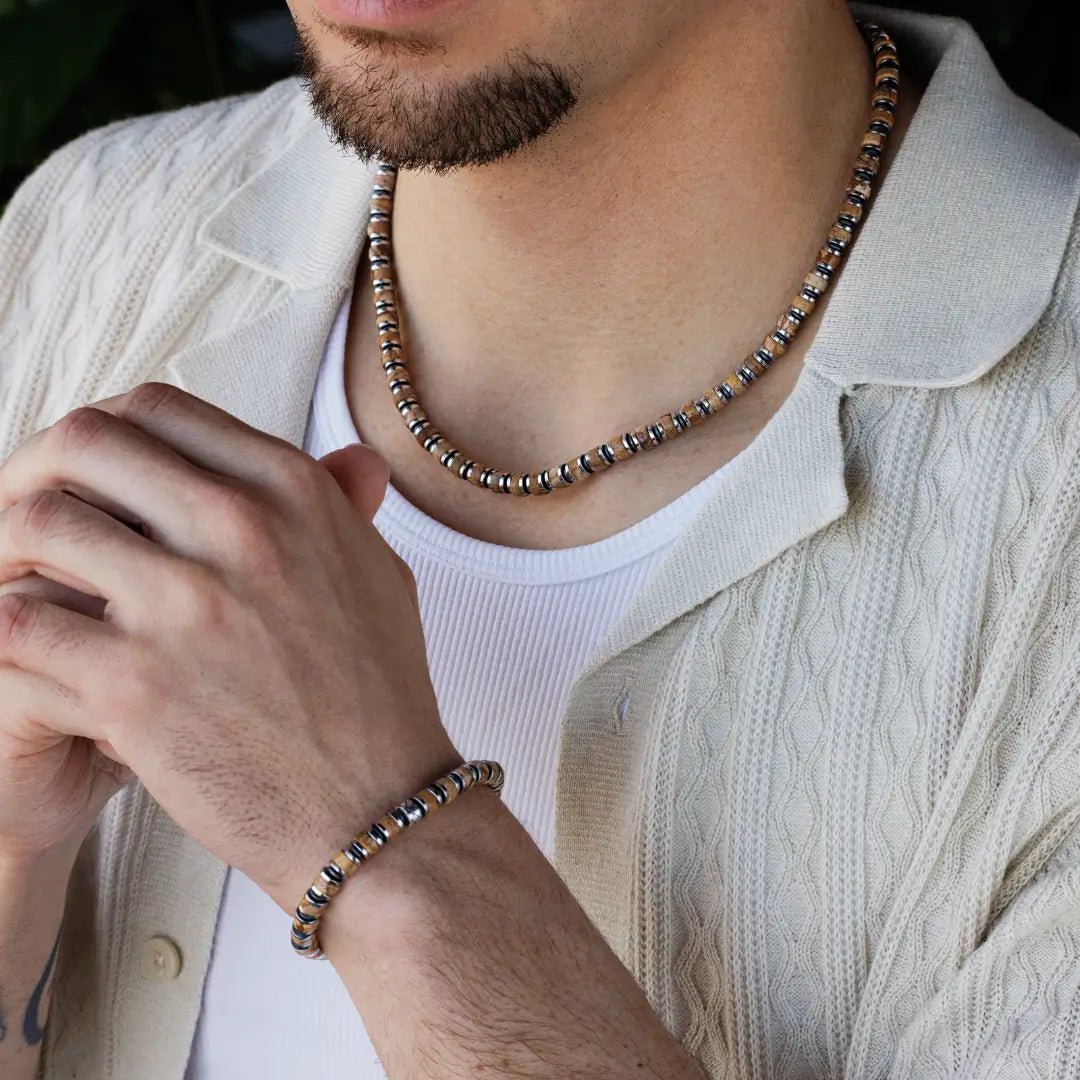
Find Your Perfect Fit
Browse our collections by category to find the bracelet that matches your personality and lifestyle.


POPULARS COLLECTIONS
Explore our most popular collections, thoughtfully curated by color and by gemstone. Each piece is designed to reflect strength, balance, and individuality.
SHOP BY COLOR
SHOP BY GEMSTONE


FEATURED COLLECTIONS
Shop our featured collections, highlighting top-rated designs, best sellers, and the latest arrivals—timeless pieces made to stand out.


SHOP ALL
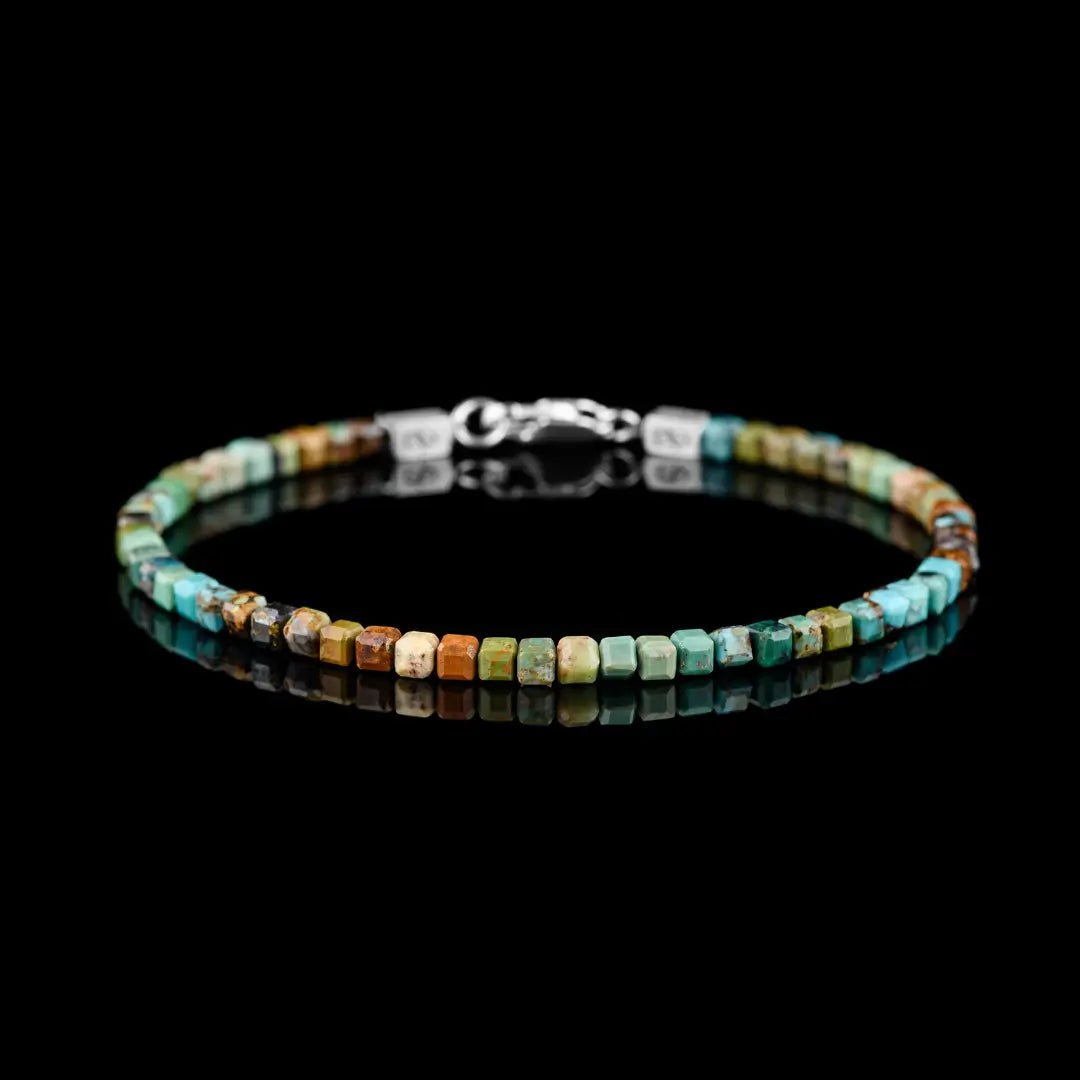
{ "title": "Turquoise Bracelet IX (3mm)", "url": "\/products\/turquoise-bracelet-ix-3mm", "product_id":
14947907469695, "image": "\/\/aurumbrothers.com\/cdn\/shop\/files\/TurquoiseBraceletIX_3mm.webp?v=1746153223\u0026width=600",
"price_html": "\u003cprice-list class=\"price-list \"\u003e\u003csale-price class=\"text-subdued\"\u003e\n \u003cspan class=\"sr-only\"\u003eSale price\u003c\/span\u003e340 USD\u003c\/sale-price\u003e\u003c\/price-list\u003e", "badge":
null
}
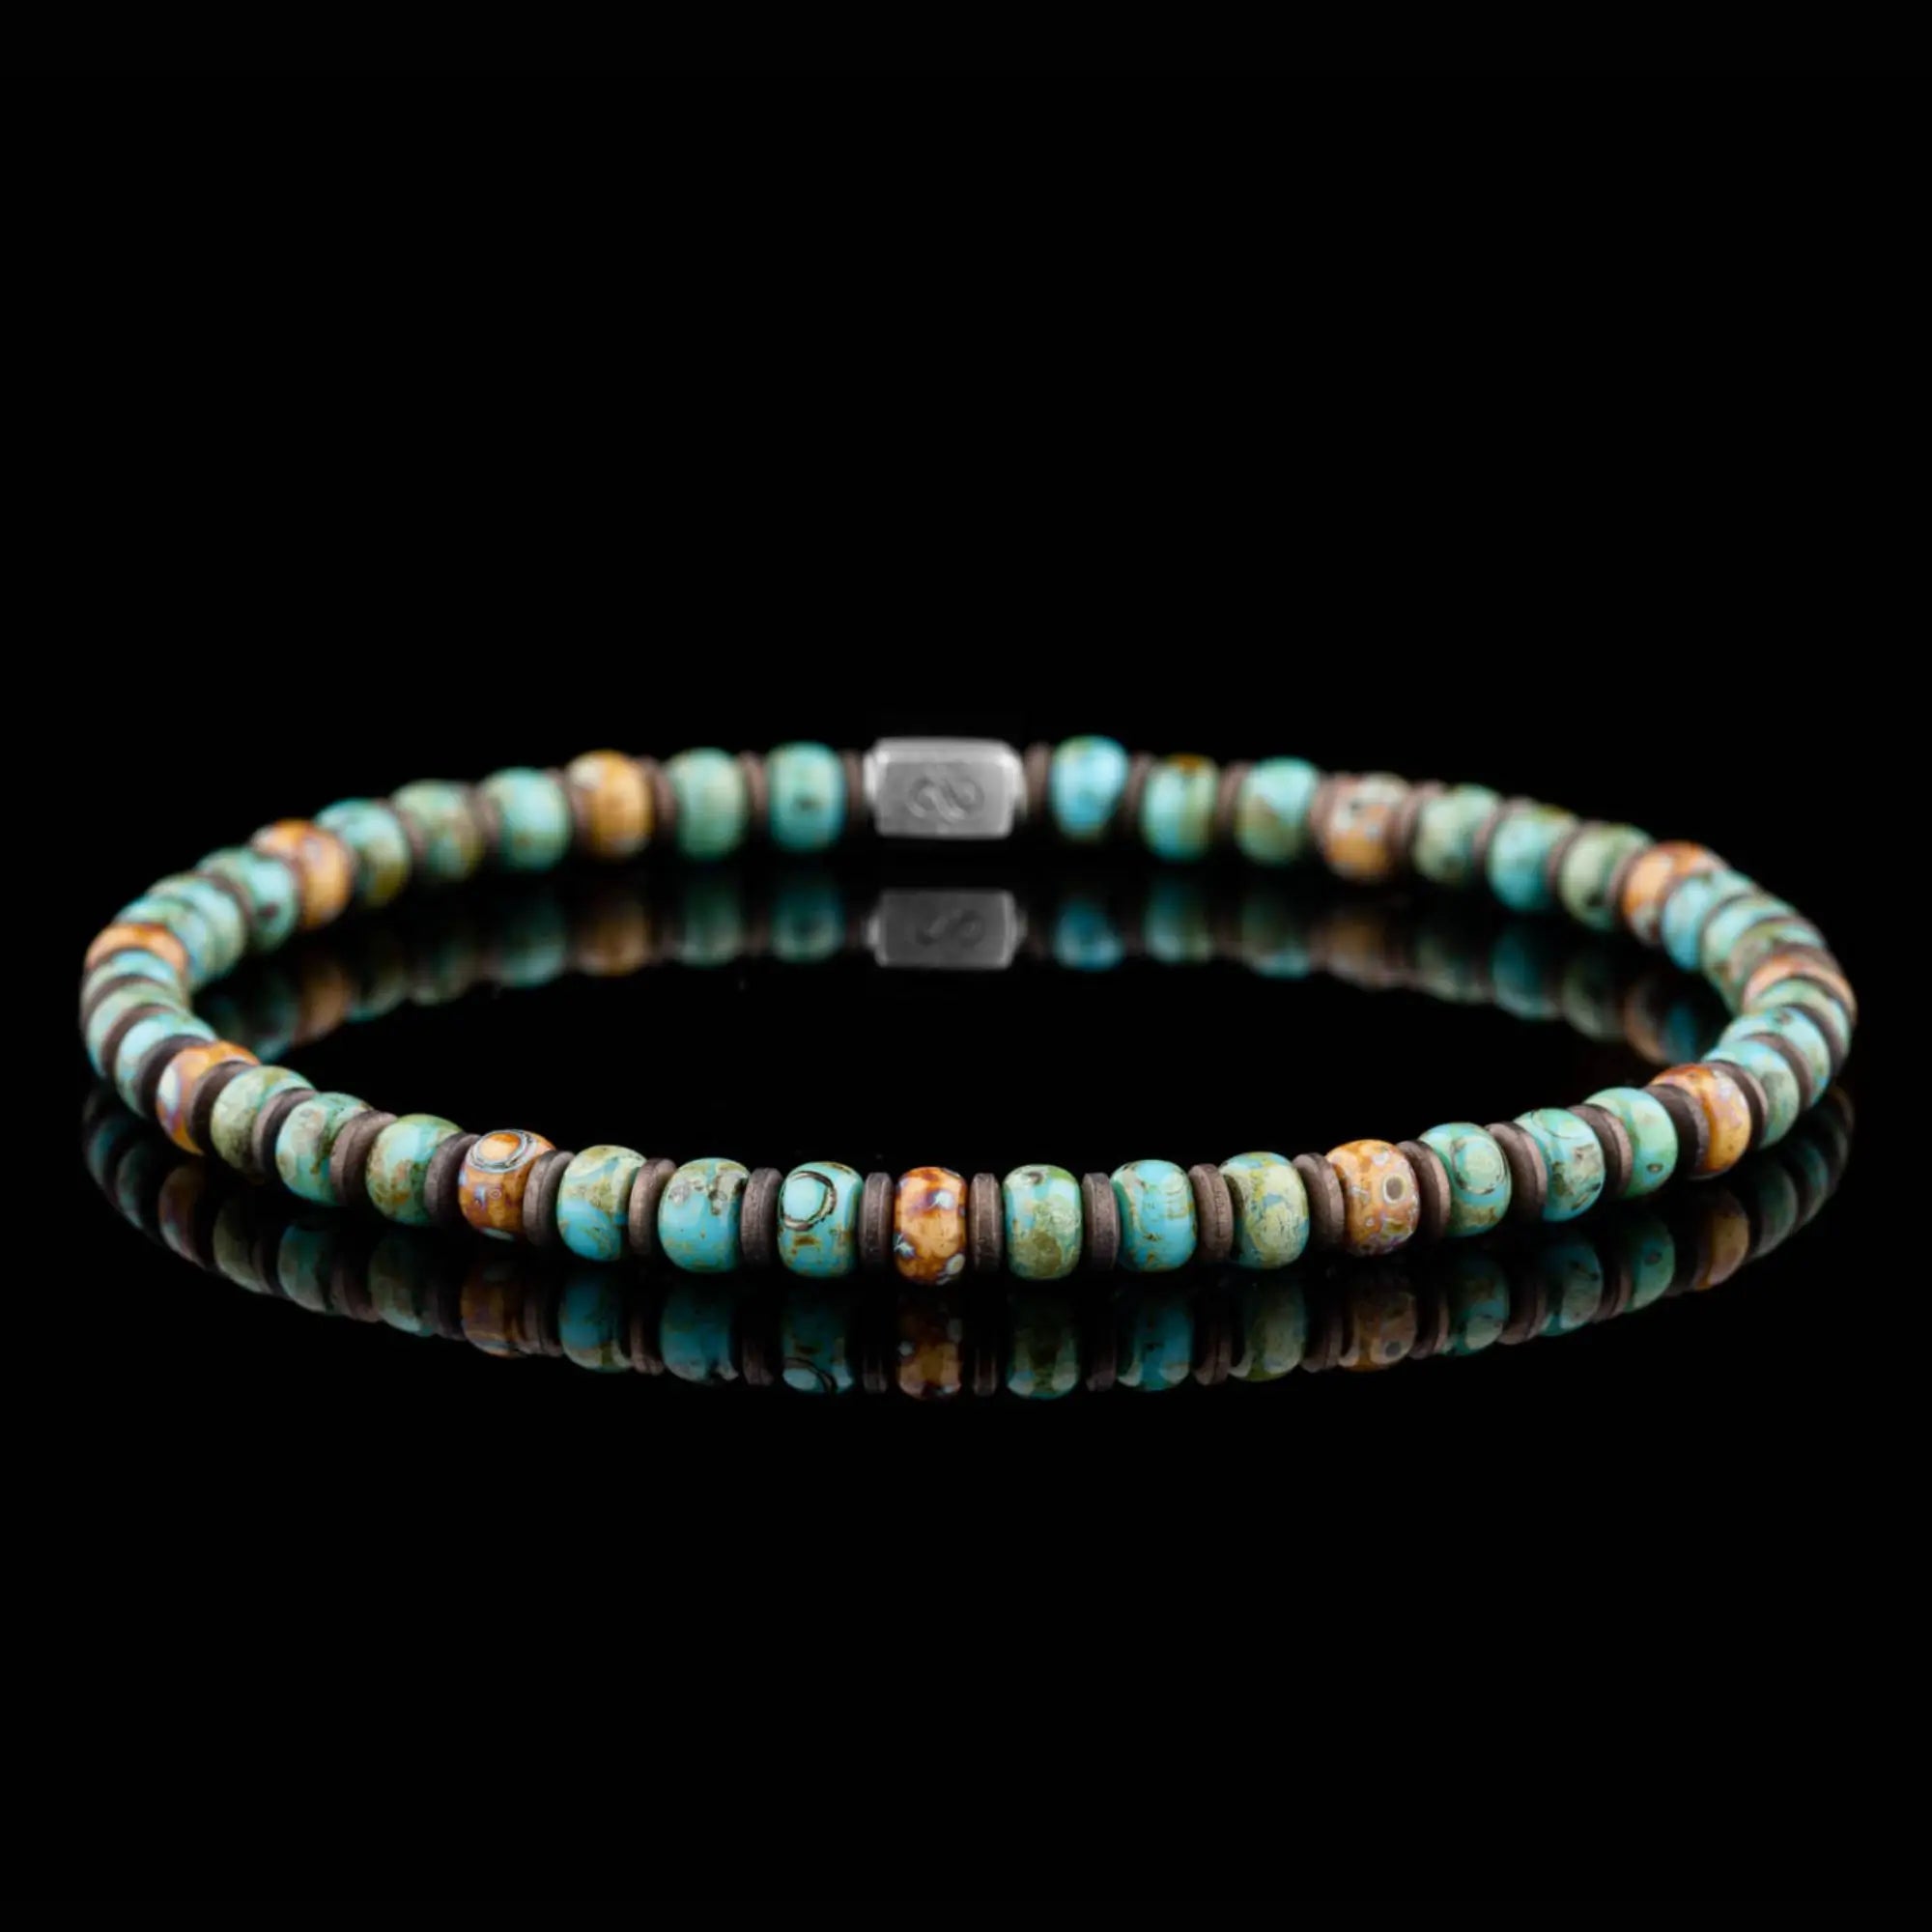
{ "title": "Chrysocolla Bracelet VIII (4mm)", "url": "\/products\/chrysocolla-bracelet-viii-4mm", "image":
"\/\/aurumbrothers.com\/cdn\/shop\/files\/ChrysocollaBraceletVIII_4mm.webp?v=1746153241\u0026width=600", "product_id":
14947792060799, "variant_id":
55119454699903, "price_html":
"\u003cprice-list class=\"price-list \"\u003e\u003csale-price class=\"text-subdued\"\u003e\n \u003cspan class=\"sr-only\"\u003eSale price\u003c\/span\u003e380 USD\u003c\/sale-price\u003e\u003c\/price-list\u003e", "badge":
null
}
{ "title": "Mother of Pearl Cube Bracelet I (4mm)", "url": "\/products\/mother-of-pearl-bracelet-i-4mm", "image":
"\/\/aurumbrothers.com\/cdn\/shop\/files\/v2MotherofPearlBraceletI_4mm_1.webp?v=1763559879\u0026width=600", "product_id":
8904853586255, "variant_id":
48247446831439, "price_html":
"\u003cprice-list class=\"price-list \"\u003e\u003csale-price class=\"text-subdued\"\u003e\n \u003cspan class=\"sr-only\"\u003eSale price\u003c\/span\u003e290 USD\u003c\/sale-price\u003e\u003c\/price-list\u003e", "badge":
null
}
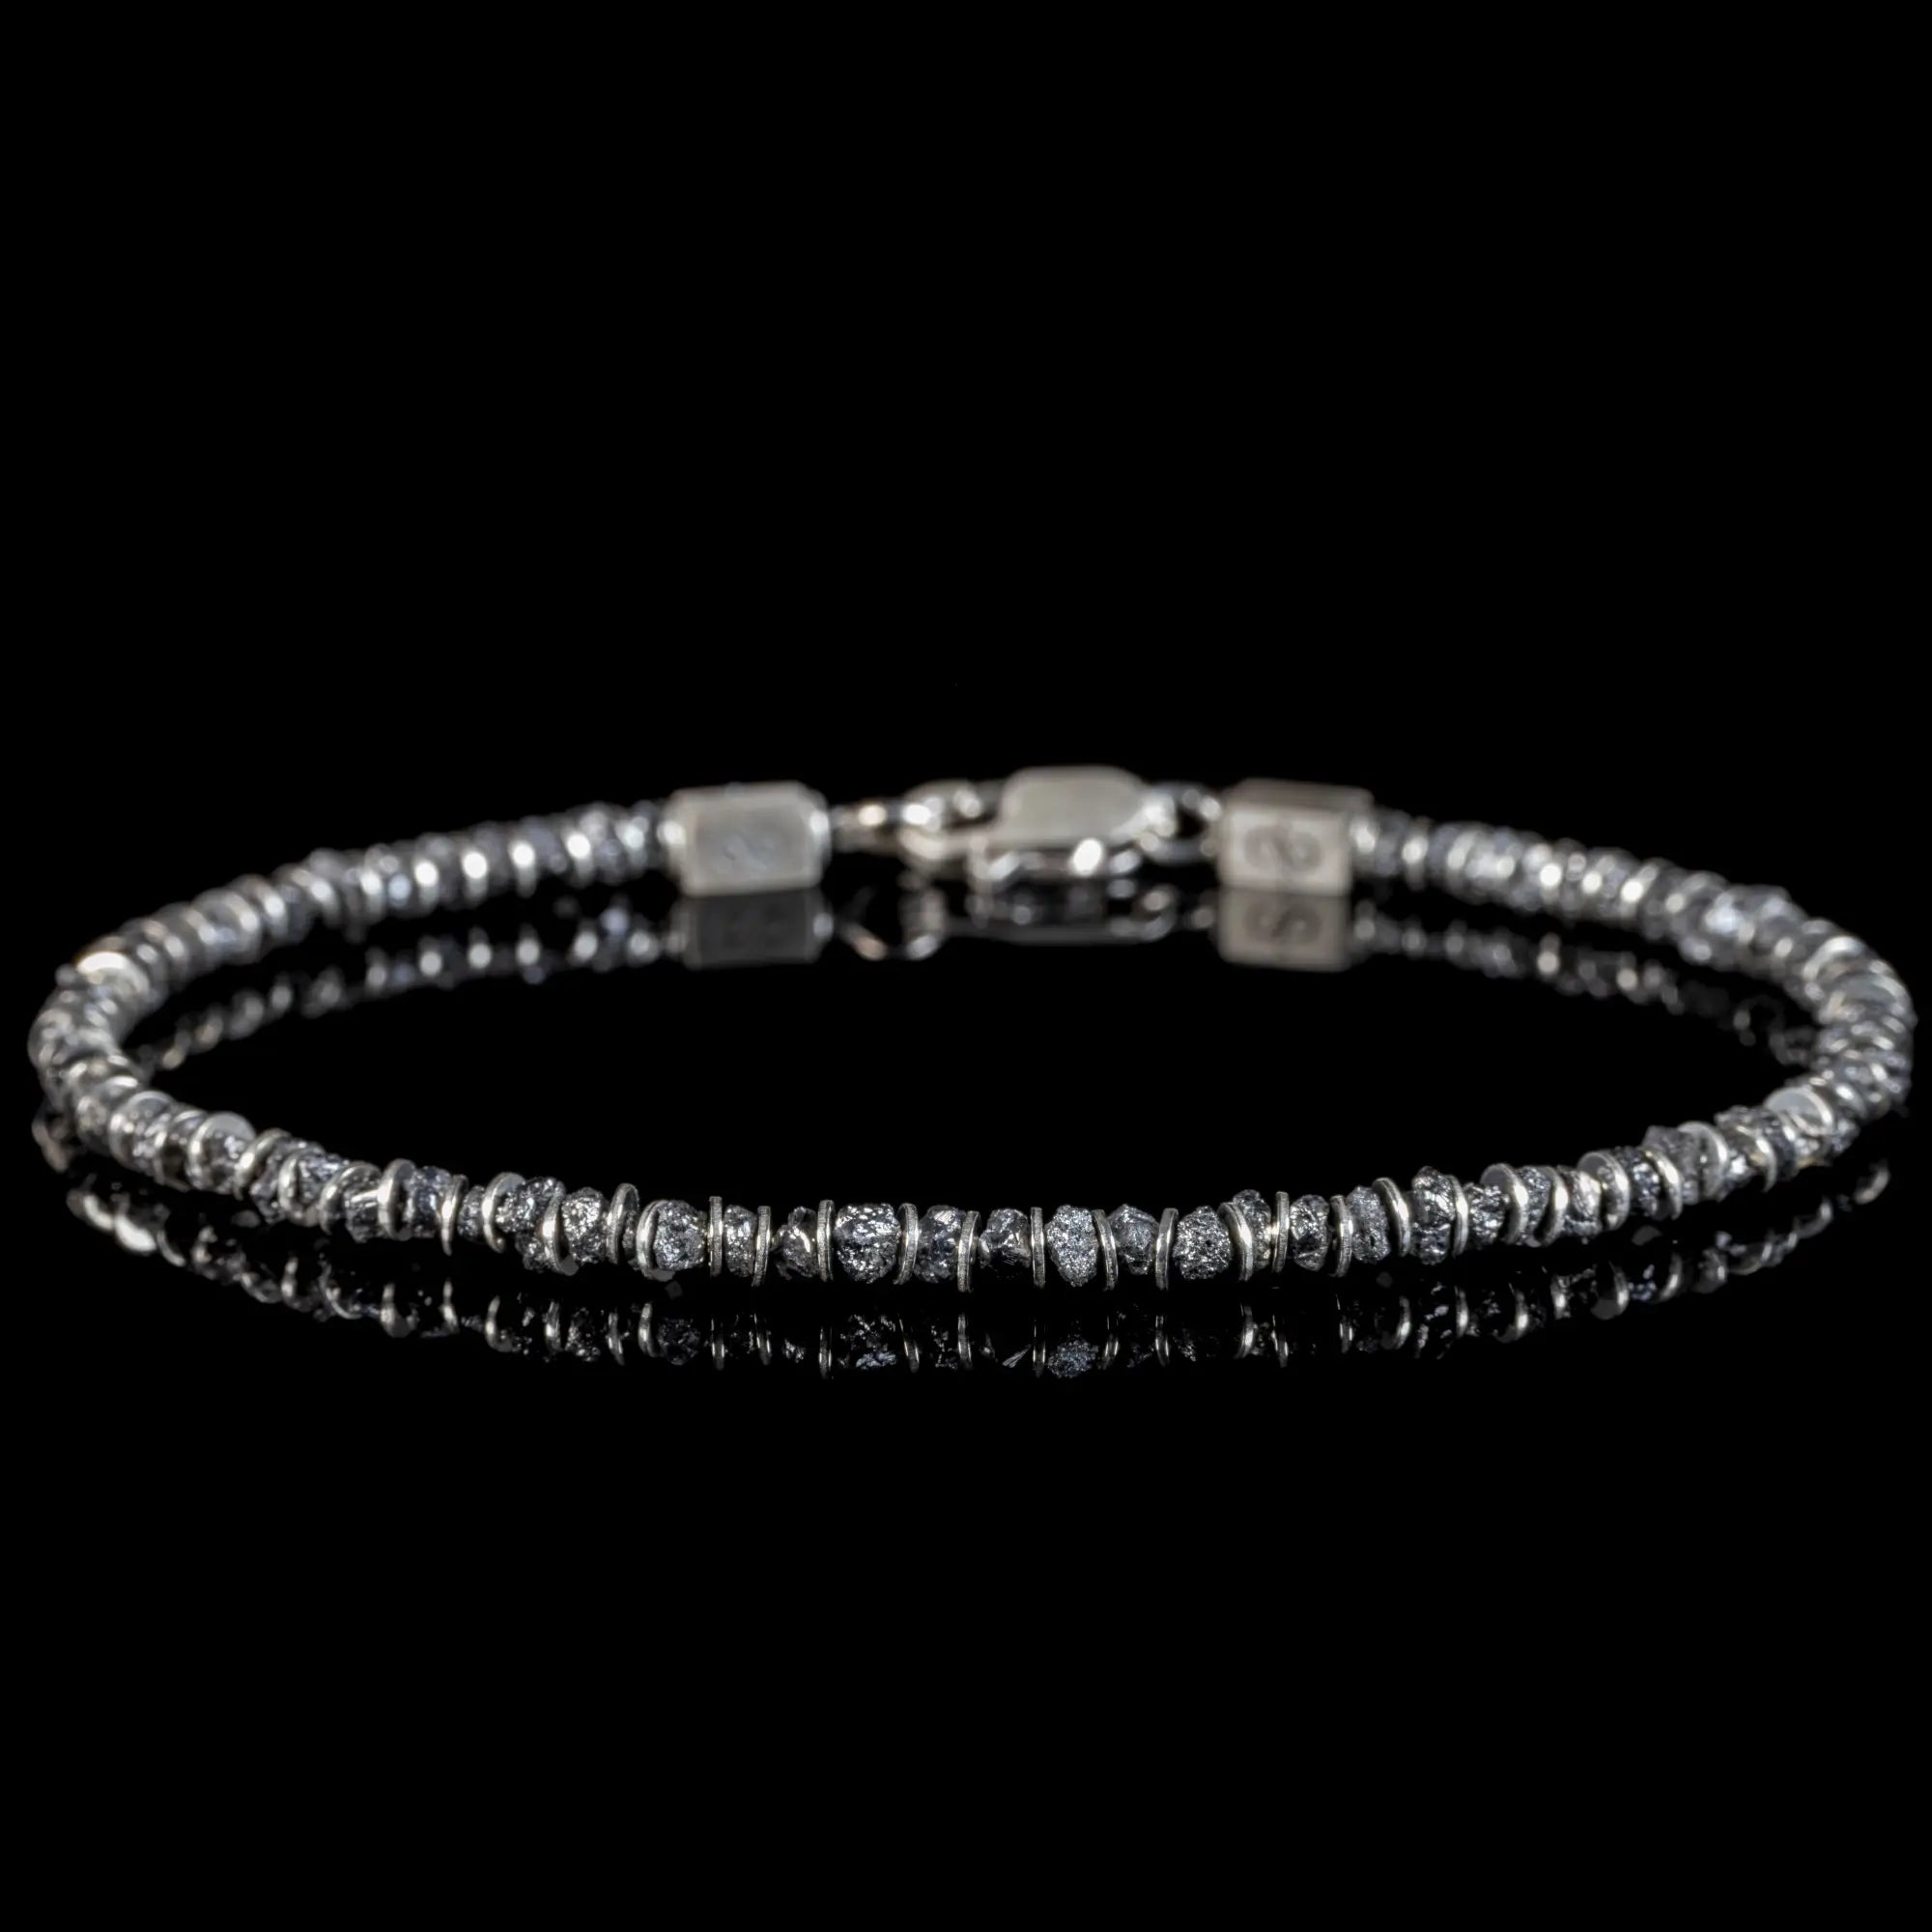
{ "title": "Raw Black Diamond Bracelet III (2-3mm)", "url": "\/products\/raw-black-diamond-bracelet-iii-2-3mm", "product_id":
15450364903807, "image": "\/\/aurumbrothers.com\/cdn\/shop\/files\/RawBlackDiamondBraceletIII_2-3mm_-solo-productshot.webp?v=1767019314\u0026width=600",
"price_html": "\u003cprice-list class=\"price-list \"\u003e\u003csale-price class=\"text-subdued\"\u003e\n \u003cspan class=\"sr-only\"\u003eSale price\u003c\/span\u003e660 USD\u003c\/sale-price\u003e\u003c\/price-list\u003e", "badge":
null
}
{ "title": "Raw Black Diamond Bracelet I (2-3mm)", "url": "\/products\/raw-black-diamond-bracelet-i-2-3mm", "image":
"\/\/aurumbrothers.com\/cdn\/shop\/files\/RawBlackDiamondBraceletI_2mm-3mm_-solo-productshot.webp?v=1767019184\u0026width=600", "product_id":
15450364707199, "variant_id":
56576287211903, "price_html":
"\u003cprice-list class=\"price-list \"\u003e\u003csale-price class=\"text-subdued\"\u003e\n \u003cspan class=\"sr-only\"\u003eSale price\u003c\/span\u003e590 USD\u003c\/sale-price\u003e\u003c\/price-list\u003e", "badge":
null
}
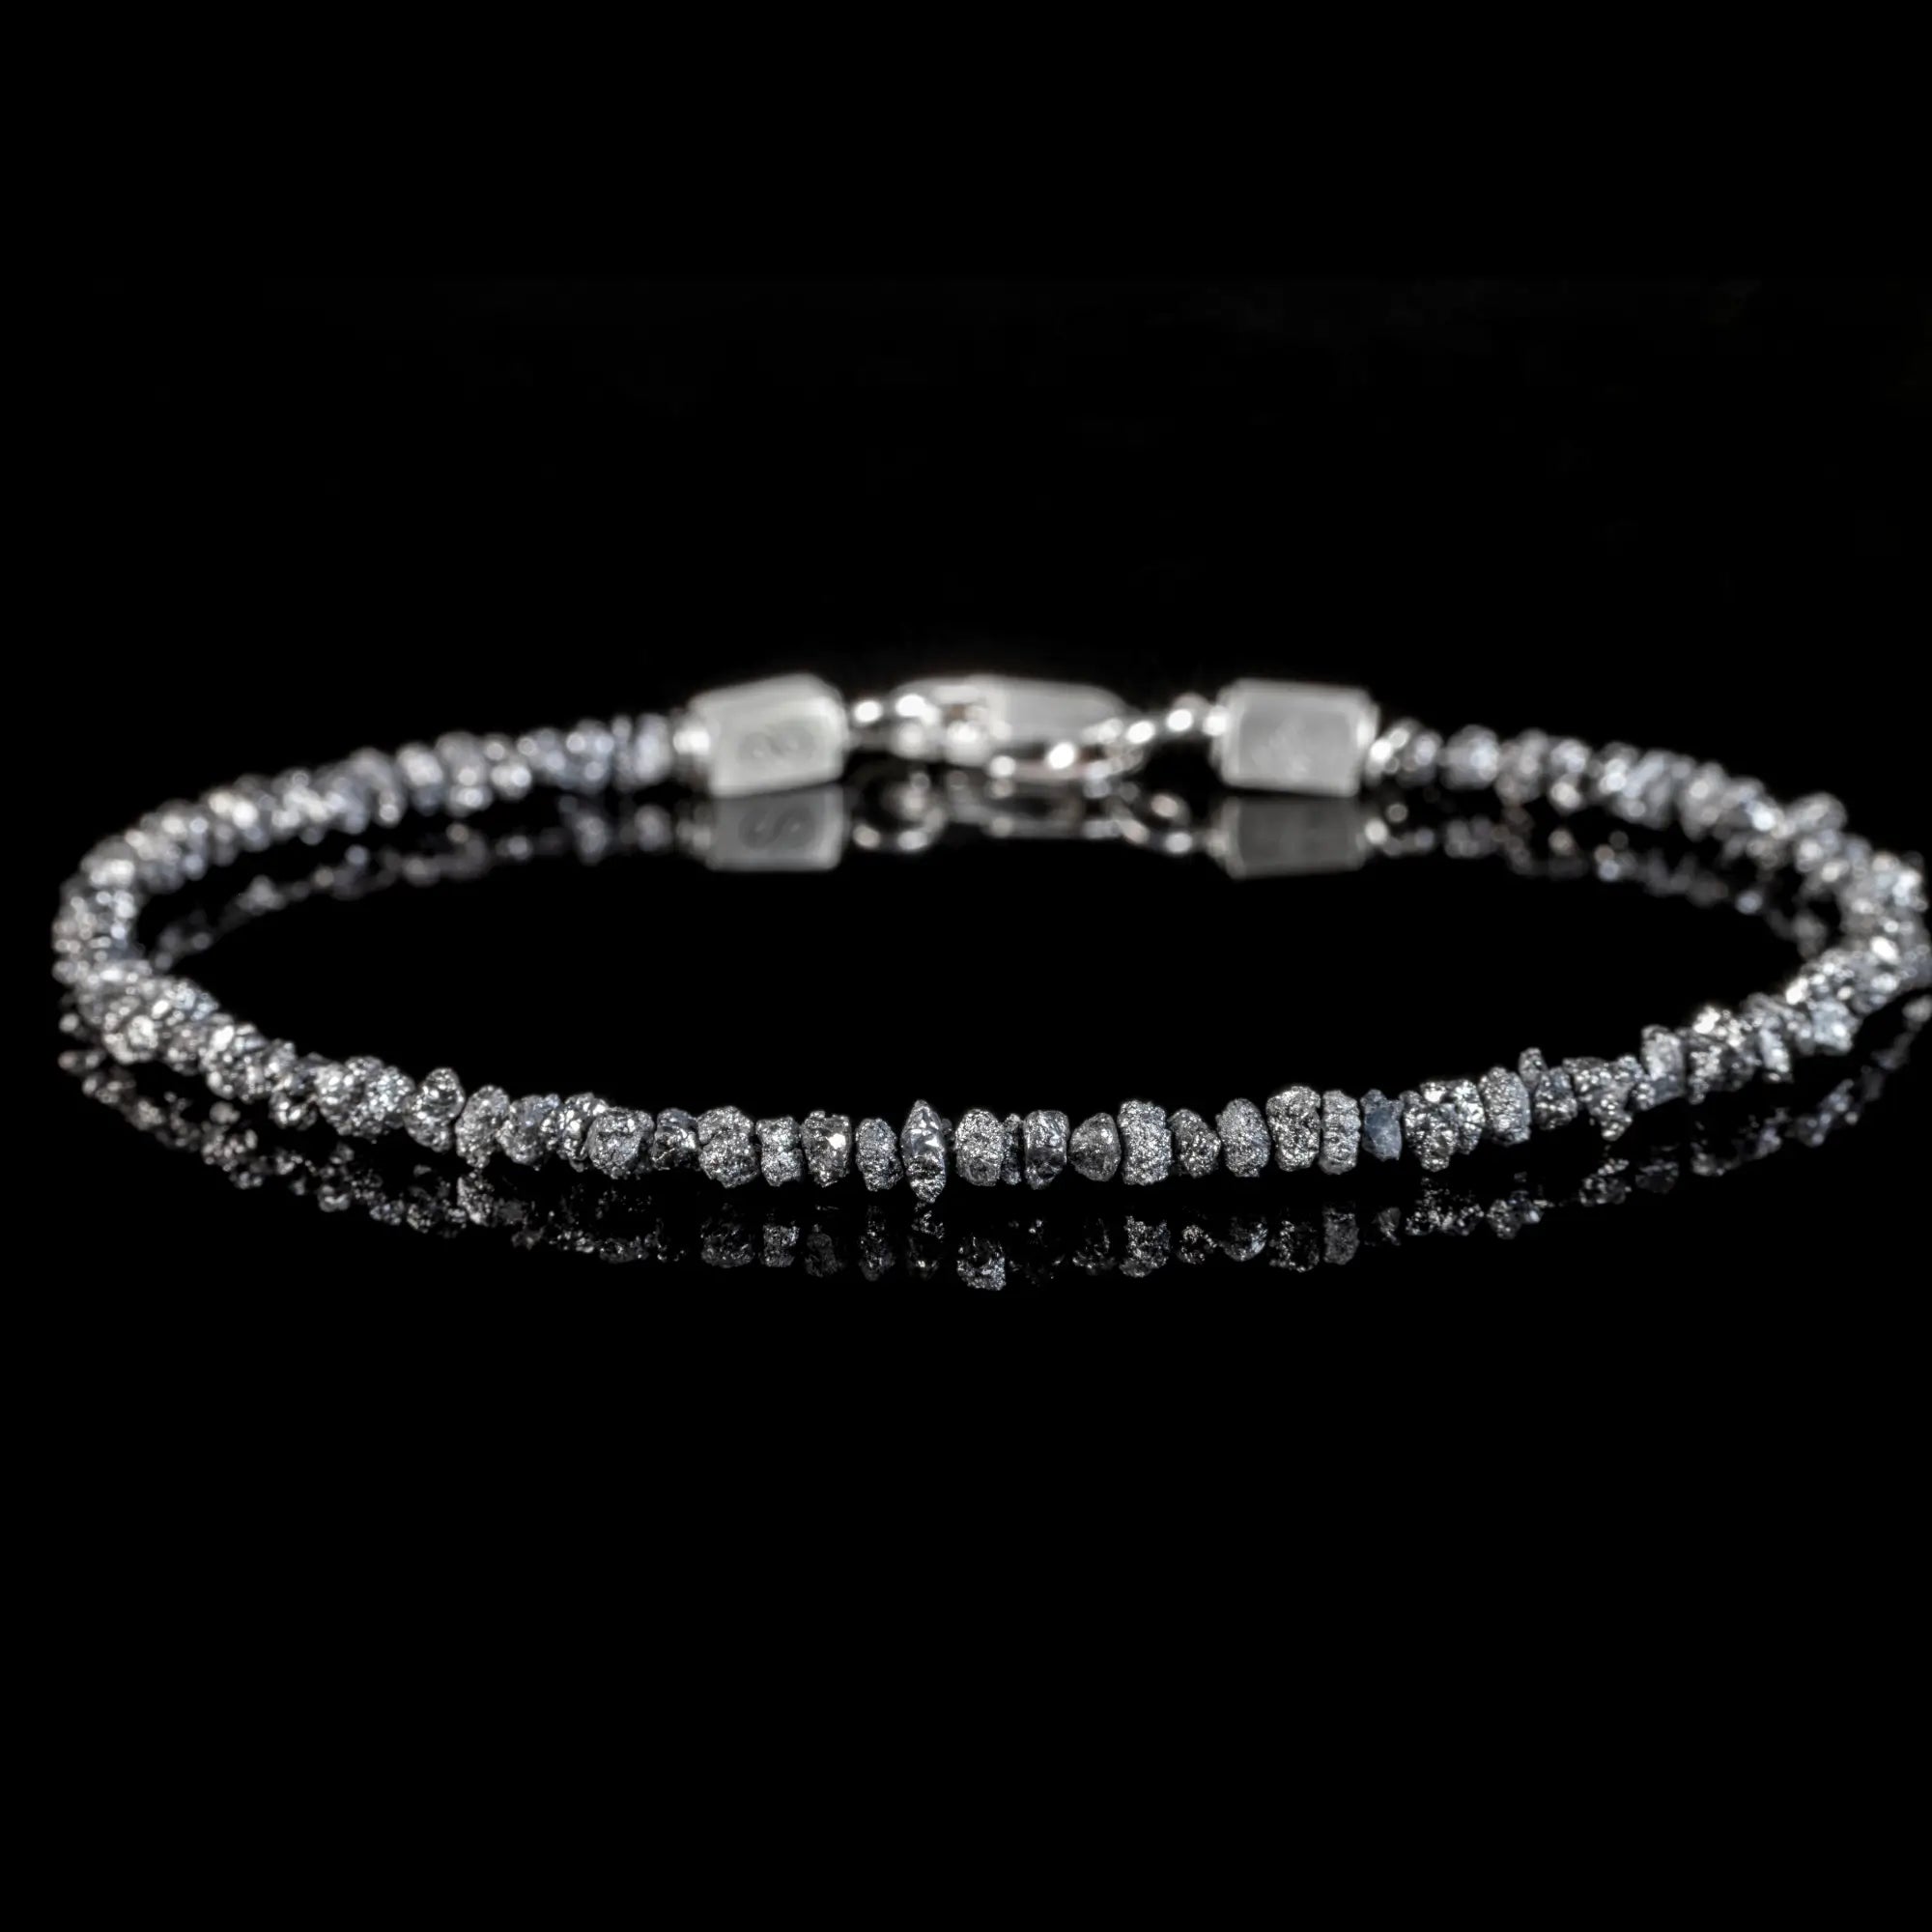
{ "title": "Raw Silvery Diamond Bracelet I (2-3mm)", "url": "\/products\/raw-silvery-diamond-bracelet-i-2-3mm", "image":
"\/\/aurumbrothers.com\/cdn\/shop\/files\/RawSilveryDiamondBraceletI_2-3mm_-solo-productshot.webp?v=1767019016\u0026width=600", "product_id":
15450364674431, "variant_id":
56576287146367, "price_html":
"\u003cprice-list class=\"price-list \"\u003e\u003csale-price class=\"text-subdued\"\u003e\n \u003cspan class=\"sr-only\"\u003eSale price\u003c\/span\u003e590 USD\u003c\/sale-price\u003e\u003c\/price-list\u003e", "badge":
null
}
{ "title": "Raw Silvery Diamond - Black Spinel Bracelet II (2-3mm)", "url": "\/products\/raw-silvery-diamond-black-spinel-bracelet-ii-2-3mm", "image":
"\/\/aurumbrothers.com\/cdn\/shop\/files\/RawSilveryDiamond-BlackSpinelBraceletII_2-3mm_-solo-productshot.webp?v=1767019448\u0026width=600", "product_id":
15450364641663, "variant_id":
56576287113599, "price_html":
"\u003cprice-list class=\"price-list \"\u003e\u003csale-price class=\"text-subdued\"\u003e\n \u003cspan class=\"sr-only\"\u003eSale price\u003c\/span\u003e490 USD\u003c\/sale-price\u003e\u003c\/price-list\u003e", "badge":
null
}
{ "title": "Raw Black Diamond - Black Spinel Bracelet II (2-3mm)", "url": "\/products\/raw-black-diamond-black-spinel-bracelet-ii-2-3mm", "image":
"\/\/aurumbrothers.com\/cdn\/shop\/files\/RawBlackDiamond-BlackSpinelBraceletII_2-3mm_-solo-productshot.webp?v=1767019393\u0026width=600", "product_id":
15450364608895, "variant_id":
56576287179135, "price_html":
"\u003cprice-list class=\"price-list \"\u003e\u003csale-price class=\"text-subdued\"\u003e\n \u003cspan class=\"sr-only\"\u003eSale price\u003c\/span\u003e490 USD\u003c\/sale-price\u003e\u003c\/price-list\u003e", "badge":
null
}
{ "title": "Camel-Turquoise Hematite Bracelet V (4mm)", "url": "\/products\/parvus-turquoise-camel-4mm-silver-bracelet", "product_id":
6796854329398, "image": "\/\/aurumbrothers.com\/cdn\/shop\/files\/square1-Camel-TurquoiseHematiteBraceletV_4mm_3.webp?v=1746154849\u0026width=600",
"price_html": "\u003cprice-list class=\"price-list \"\u003e\u003csale-price class=\"text-subdued\"\u003e\n \u003cspan class=\"sr-only\"\u003eSale price\u003c\/span\u003e180 USD\u003c\/sale-price\u003e\u003c\/price-list\u003e", "badge":
null
}
{ "title": "Hematite - Red Bracelet VII (4mm)", "url": "\/products\/parvus-red-passion-4mm-silver-bracelet", "image":
"\/\/aurumbrothers.com\/cdn\/shop\/files\/square1-Hematite-RedBraceletVII_4mm.webp?v=1746154933\u0026width=600", "product_id":
6675504758838, "variant_id":
39877368086582, "price_html":
"\u003cprice-list class=\"price-list \"\u003e\u003csale-price class=\"text-subdued\"\u003e\n \u003cspan class=\"sr-only\"\u003eSale price\u003c\/span\u003e180 USD\u003c\/sale-price\u003e\u003c\/price-list\u003e", "badge":
null
}
{ "title": "Hematite - Multicolor Bracelet XVIII (4mm)", "url": "\/products\/hematite-multicolor-bracelet-xviii-4mm", "image":
"\/\/aurumbrothers.com\/cdn\/shop\/files\/square1-Hematite-MulticolorBraceletXVIII_4mm_1.webp?v=1746153794\u0026width=600", "product_id":
8894203199823, "variant_id":
48219183481167, "price_html":
"\u003cprice-list class=\"price-list \"\u003e\u003csale-price class=\"text-subdued\"\u003e\n \u003cspan class=\"sr-only\"\u003eSale price\u003c\/span\u003e180 USD\u003c\/sale-price\u003e\u003c\/price-list\u003e", "badge":
null
}
{ "title": "Hematite - Camel Bracelet I (4mm)", "url": "\/products\/hematite-camel-bracelet-i-4mm", "image":
"\/\/aurumbrothers.com\/cdn\/shop\/files\/square1-Hematite-CamelBraceletI_4mm.webp?v=1746153578\u0026width=600", "product_id":
9371957657935, "variant_id":
49144328257871, "price_html":
"\u003cprice-list class=\"price-list \"\u003e\u003csale-price class=\"text-subdued\"\u003e\n \u003cspan class=\"sr-only\"\u003eSale price\u003c\/span\u003e180 USD\u003c\/sale-price\u003e\u003c\/price-list\u003e", "badge":
null
}
{ "title": "Hematite - Orange Bracelet XV (4mm)", "url": "\/products\/hematite-orange-bracelet-xv-4mm", "image":
"\/\/aurumbrothers.com\/cdn\/shop\/files\/square1-Hematite-OrangeBraceletXV_4mm.webp?v=1746153801\u0026width=600", "product_id":
8894199398735, "variant_id":
48219166900559, "price_html":
"\u003cprice-list class=\"price-list \"\u003e\u003csale-price class=\"text-subdued\"\u003e\n \u003cspan class=\"sr-only\"\u003eSale price\u003c\/span\u003e180 USD\u003c\/sale-price\u003e\u003c\/price-list\u003e", "badge":
null
}
{ "title": "Hematite - Brown Bracelet I (4mm)", "url": "\/products\/hematite-brown-bracelet-i-4mm", "image":
"\/\/aurumbrothers.com\/cdn\/shop\/files\/Hematite-BrownBraceletI_4mm_-solo-productshot-2.webp?v=1758554153\u0026width=600", "product_id":
15292854075775, "variant_id":
56077418922367, "price_html":
"\u003cprice-list class=\"price-list \"\u003e\u003csale-price class=\"text-subdued\"\u003e\n \u003cspan class=\"sr-only\"\u003eSale price\u003c\/span\u003e180 USD\u003c\/sale-price\u003e\u003c\/price-list\u003e", "badge":
null
}
{ "title": "Hematite - Blue Bracelet XVII (4mm)", "url": "\/products\/hematite-blue-bracelet-xvii-4mm", "image":
"\/\/aurumbrothers.com\/cdn\/shop\/files\/square1-Hematite-BlueBraceletXVII_4mm_1.webp?v=1746153797\u0026width=600", "product_id":
8894201790799, "variant_id":
48219177451855, "price_html":
"\u003cprice-list class=\"price-list \"\u003e\u003csale-price class=\"text-subdued\"\u003e\n \u003cspan class=\"sr-only\"\u003eSale price\u003c\/span\u003e180 USD\u003c\/sale-price\u003e\u003c\/price-list\u003e", "badge":
null
}
{ "title": "Hematite - Black Bracelet VI (4mm)", "url": "\/products\/parvus-black-passion-4mm-silver-bracelet", "image":
"\/\/aurumbrothers.com\/cdn\/shop\/files\/square1-Hematite-BlackBraceletVI_4mm.webp?v=1746154930\u0026width=600", "product_id":
6675504922678, "variant_id":
39877368283190, "price_html":
"\u003cprice-list class=\"price-list \"\u003e\u003csale-price class=\"text-subdued\"\u003e\n \u003cspan class=\"sr-only\"\u003eSale price\u003c\/span\u003e180 USD\u003c\/sale-price\u003e\u003c\/price-list\u003e", "badge":
null
}
{ "title": "Hematite - Teal Bracelet XI (4mm)", "url": "\/products\/parvus-teal-hematite-4mm-silver-bracelet", "image":
"\/\/aurumbrothers.com\/cdn\/shop\/files\/square1-Hematite-TealBraceletXI_4mm_1.webp?v=1746154826\u0026width=600", "product_id":
6818296561718, "variant_id":
40235843649590, "price_html":
"\u003cprice-list class=\"price-list \"\u003e\u003csale-price class=\"text-subdued\"\u003e\n \u003cspan class=\"sr-only\"\u003eSale price\u003c\/span\u003e180 USD\u003c\/sale-price\u003e\u003c\/price-list\u003e", "badge":
null
}
{ "title": "Serpentine Bracelet I (4mm)", "url": "\/products\/serpentine-bracelet-i-4mm", "image":
"\/\/aurumbrothers.com\/cdn\/shop\/files\/Serpentinesnake4mm.webp?v=1746153252\u0026width=600", "product_id":
14926066352511, "variant_id":
55053430948223, "price_html":
"\u003cprice-list class=\"price-list \"\u003e\u003csale-price class=\"text-subdued\"\u003e\n \u003cspan class=\"sr-only\"\u003eSale price\u003c\/span\u003e220 USD\u003c\/sale-price\u003e\u003c\/price-list\u003e", "badge":
null
}
{ "title": "Hematite - Metallic Brown Bracelet XX (4mm)", "url": "\/products\/hematite-metallic-brown-bracelet-xx-4mm", "image":
"\/\/aurumbrothers.com\/cdn\/shop\/files\/square1-Hematite-MetallicBrownBraceletXX_4mm_1.webp?v=1746153785\u0026width=600", "product_id":
8904893595983, "variant_id":
48247533338959, "price_html":
"\u003cprice-list class=\"price-list \"\u003e\u003csale-price class=\"text-subdued\"\u003e\n \u003cspan class=\"sr-only\"\u003eSale price\u003c\/span\u003e180 USD\u003c\/sale-price\u003e\u003c\/price-list\u003e", "badge":
null
}
{ "title": "Raw Black Diamond Bracelet I (2-3mm)", "url": "\/products\/raw-black-diamond-bracelet-i-2-3mm", "product_id":
15450364707199, "image": "\/\/aurumbrothers.com\/cdn\/shop\/files\/RawBlackDiamondBraceletI_2mm-3mm_-solo-productshot.webp?v=1767019184\u0026width=600",
"price_html": "\u003cprice-list class=\"price-list \"\u003e\u003csale-price class=\"text-subdued\"\u003e\n \u003cspan class=\"sr-only\"\u003eSale price\u003c\/span\u003e590 USD\u003c\/sale-price\u003e\u003c\/price-list\u003e", "badge":
null
}
{ "title": "Raw Silvery Diamond Bracelet I (2-3mm)", "url": "\/products\/raw-silvery-diamond-bracelet-i-2-3mm", "image":
"\/\/aurumbrothers.com\/cdn\/shop\/files\/RawSilveryDiamondBraceletI_2-3mm_-solo-productshot.webp?v=1767019016\u0026width=600", "product_id":
15450364674431, "variant_id":
56576287146367, "price_html":
"\u003cprice-list class=\"price-list \"\u003e\u003csale-price class=\"text-subdued\"\u003e\n \u003cspan class=\"sr-only\"\u003eSale price\u003c\/span\u003e590 USD\u003c\/sale-price\u003e\u003c\/price-list\u003e", "badge":
null
}
{ "title": "Raw Silvery Diamond - Black Spinel Bracelet II (2-3mm)", "url": "\/products\/raw-silvery-diamond-black-spinel-bracelet-ii-2-3mm", "image":
"\/\/aurumbrothers.com\/cdn\/shop\/files\/RawSilveryDiamond-BlackSpinelBraceletII_2-3mm_-solo-productshot.webp?v=1767019448\u0026width=600", "product_id":
15450364641663, "variant_id":
56576287113599, "price_html":
"\u003cprice-list class=\"price-list \"\u003e\u003csale-price class=\"text-subdued\"\u003e\n \u003cspan class=\"sr-only\"\u003eSale price\u003c\/span\u003e490 USD\u003c\/sale-price\u003e\u003c\/price-list\u003e", "badge":
null
}
{ "title": "Raw Black Diamond - Black Spinel Bracelet II (2-3mm)", "url": "\/products\/raw-black-diamond-black-spinel-bracelet-ii-2-3mm", "image":
"\/\/aurumbrothers.com\/cdn\/shop\/files\/RawBlackDiamond-BlackSpinelBraceletII_2-3mm_-solo-productshot.webp?v=1767019393\u0026width=600", "product_id":
15450364608895, "variant_id":
56576287179135, "price_html":
"\u003cprice-list class=\"price-list \"\u003e\u003csale-price class=\"text-subdued\"\u003e\n \u003cspan class=\"sr-only\"\u003eSale price\u003c\/span\u003e490 USD\u003c\/sale-price\u003e\u003c\/price-list\u003e", "badge":
null
}
{ "title": "Raw Black Diamond Bracelet III (2-3mm)", "url": "\/products\/raw-black-diamond-bracelet-iii-2-3mm", "image":
"\/\/aurumbrothers.com\/cdn\/shop\/files\/RawBlackDiamondBraceletIII_2-3mm_-solo-productshot.webp?v=1767019314\u0026width=600", "product_id":
15450364903807, "variant_id":
56576287670655, "price_html":
"\u003cprice-list class=\"price-list \"\u003e\u003csale-price class=\"text-subdued\"\u003e\n \u003cspan class=\"sr-only\"\u003eSale price\u003c\/span\u003e660 USD\u003c\/sale-price\u003e\u003c\/price-list\u003e", "badge":
null
}
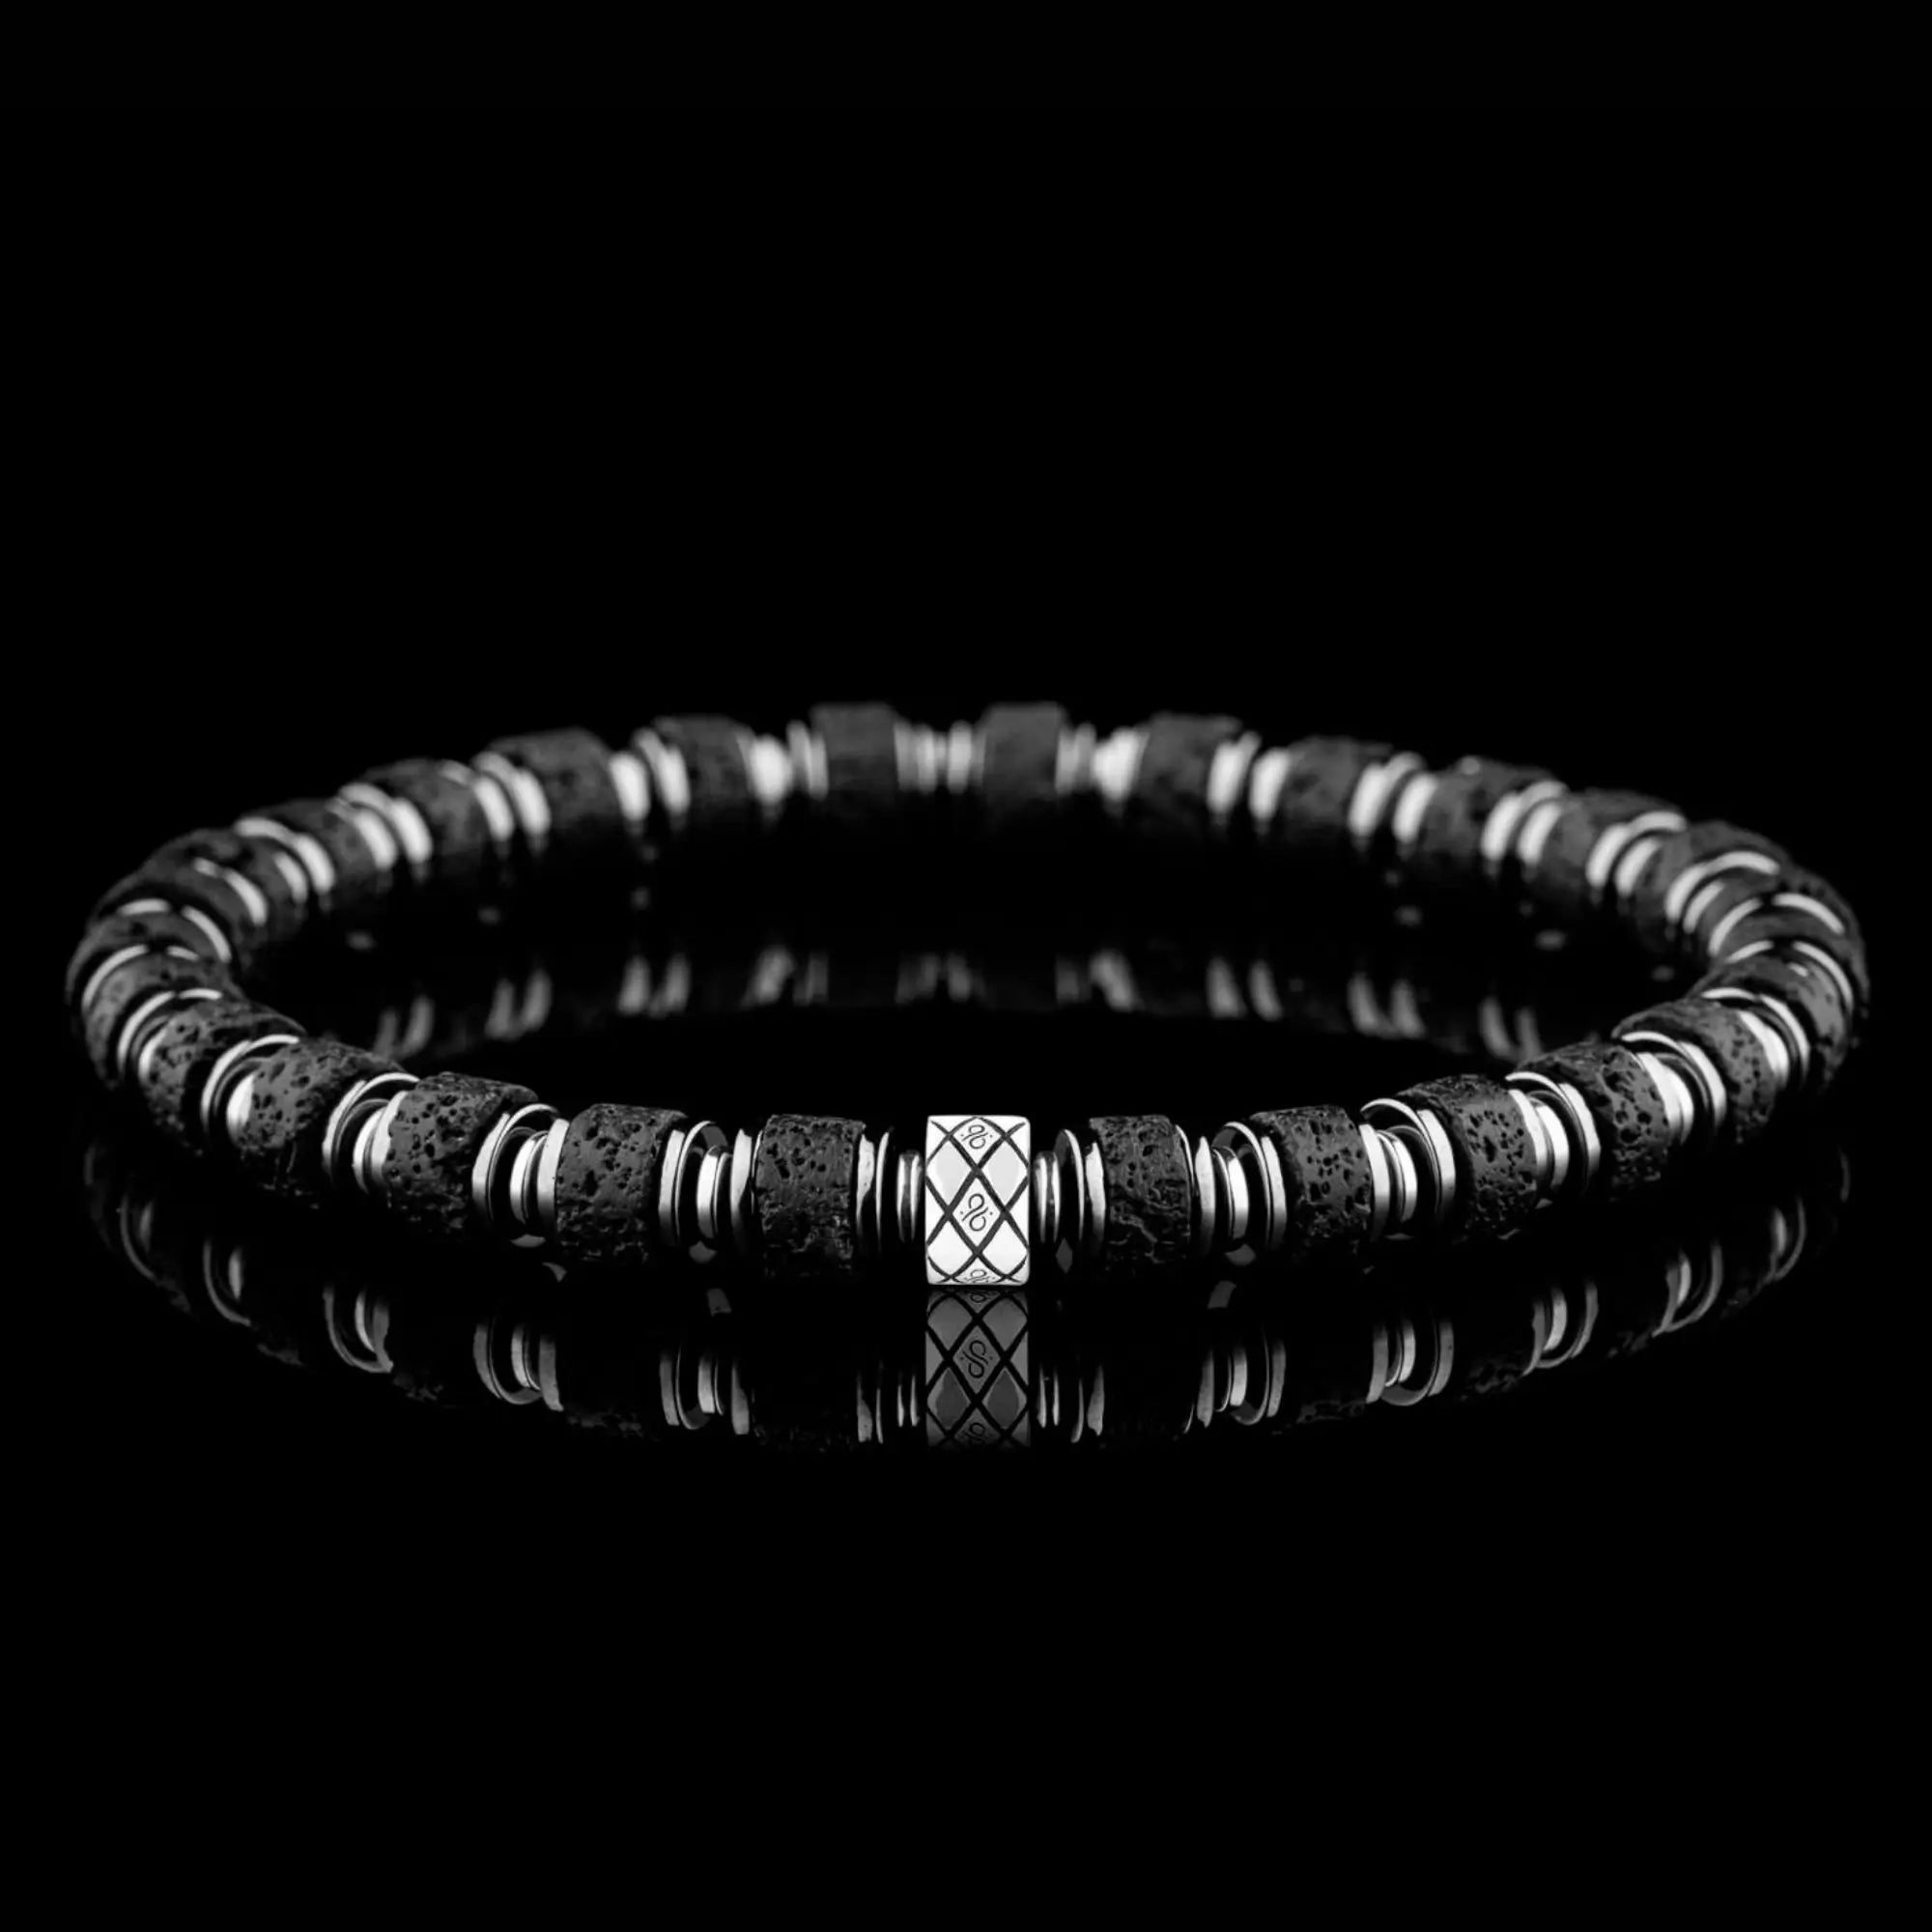
{ "title": "Lava Bracelet IV (6mm)", "url": "\/products\/abacus-lava-hematite-snake-6mm-silver-bracelet", "product_id":
6813782638646, "image": "\/\/aurumbrothers.com\/cdn\/shop\/files\/square1-LAVABRACELETIV_6MM.webp?v=1753610265\u0026width=600",
"price_html": "\u003cprice-list class=\"price-list \"\u003e\u003csale-price class=\"text-subdued\"\u003e\n \u003cspan class=\"sr-only\"\u003eSale price\u003c\/span\u003e260 USD\u003c\/sale-price\u003e\u003c\/price-list\u003e", "badge":
null
}
{ "title": "Blue Aventurine Bracelet IV (6mm)", "url": "\/products\/abacus-blue-aventurine-hematite-snake-6mm-silver-bracelet", "image":
"\/\/aurumbrothers.com\/cdn\/shop\/files\/square1-BlueAventurineBraceletIV_6mm_1.webp?v=1746299350\u0026width=600", "product_id":
6899324911670, "variant_id":
40556695617590, "price_html":
"\u003cprice-list class=\"price-list \"\u003e\u003csale-price class=\"text-subdued\"\u003e\n \u003cspan class=\"sr-only\"\u003eSale price\u003c\/span\u003e260 USD\u003c\/sale-price\u003e\u003c\/price-list\u003e", "badge":
null
}
{ "title": "Landscape Jasper Bracelet VII (6mm)", "url": "\/products\/abacus-landscape-jasper-hematite-snake-6mm-silver-bracelet", "image":
"\/\/aurumbrothers.com\/cdn\/shop\/files\/Squareproductphoto-LANDSCAPEJASPERBRACELETVII_6MM.webp?v=1746154954\u0026width=600", "product_id":
6665807265846, "variant_id":
39838068703286, "price_html":
"\u003cprice-list class=\"price-list \"\u003e\u003csale-price class=\"text-subdued\"\u003e\n \u003cspan class=\"sr-only\"\u003eSale price\u003c\/span\u003e260 USD\u003c\/sale-price\u003e\u003c\/price-list\u003e", "badge":
null
}
{ "title": "Serpentine Bracelet II (6mm)", "url": "\/products\/serpentine-bracelet-i-4mm-copy", "image":
"\/\/aurumbrothers.com\/cdn\/shop\/files\/Serpentinesnake6mm.webp?v=1746153250\u0026width=600", "product_id":
14926074151295, "variant_id":
55053464797567, "price_html":
"\u003cprice-list class=\"price-list \"\u003e\u003csale-price class=\"text-subdued\"\u003e\n \u003cspan class=\"sr-only\"\u003eSale price\u003c\/span\u003e260 USD\u003c\/sale-price\u003e\u003c\/price-list\u003e", "badge":
null
}
{ "title": "Amethyst Bracelet XVII (6mm)", "url": "\/products\/amethyst-bracelet-xvii-6mm", "image":
"\/\/aurumbrothers.com\/cdn\/shop\/files\/square1-AmethystBraceletXVII_6mm.webp?v=1746154133\u0026width=600", "product_id":
8504184701263, "variant_id":
46651740389711, "price_html":
"\u003cprice-list class=\"price-list \"\u003e\u003csale-price class=\"text-subdued\"\u003e\n \u003cspan class=\"sr-only\"\u003eSale price\u003c\/span\u003e300 USD\u003c\/sale-price\u003e\u003c\/price-list\u003e", "badge":
null
}
{ "title": "Fusion Gems Bracelet I (6mm)", "url": "\/products\/fusion-gems-bracelet-i-6mm", "image":
"\/\/aurumbrothers.com\/cdn\/shop\/files\/square1-Amazonite-Amethyst-Aventurine-Jade-Labradorite-LandscapeJasperBraceletIV_6mm_1.webp?v=1746154131\u0026width=600", "product_id":
8504187224399, "variant_id":
46651767357775, "price_html":
"\u003cprice-list class=\"price-list \"\u003e\u003csale-price class=\"text-subdued\"\u003e\n \u003cspan class=\"sr-only\"\u003eSale price\u003c\/span\u003e300 USD\u003c\/sale-price\u003e\u003c\/price-list\u003e", "badge":
null
}
{ "title": "Fusion Gems Bracelet II (6mm)", "url": "\/products\/fusion-gems-bracelet-ii-6mm", "image":
"\/\/aurumbrothers.com\/cdn\/shop\/files\/square1-Amazonite-Aventurine-Kyanite-LabradoriteBraceletIV_6mm.webp?v=1746154128\u0026width=600", "product_id":
8504188567887, "variant_id":
46651777581391, "price_html":
"\u003cprice-list class=\"price-list \"\u003e\u003csale-price class=\"text-subdued\"\u003e\n \u003cspan class=\"sr-only\"\u003eSale price\u003c\/span\u003e300 USD\u003c\/sale-price\u003e\u003c\/price-list\u003e", "badge":
null
}
{ "title": "Jade - Aventurine - Fossil - Serpentine Bracelet IV (6mm)", "url": "\/products\/jade-aventurine-fossil-bracelet-iv-6mm", "image":
"\/\/aurumbrothers.com\/cdn\/shop\/files\/square1-Jade-Aventurine-FossilBraceletIV_6mm.webp?v=1746154135\u0026width=600", "product_id":
8504183783759, "variant_id":
46651725939023, "price_html":
"\u003cprice-list class=\"price-list \"\u003e\u003csale-price class=\"text-subdued\"\u003e\n \u003cspan class=\"sr-only\"\u003eSale price\u003c\/span\u003e300 USD\u003c\/sale-price\u003e\u003c\/price-list\u003e", "badge":
null
}
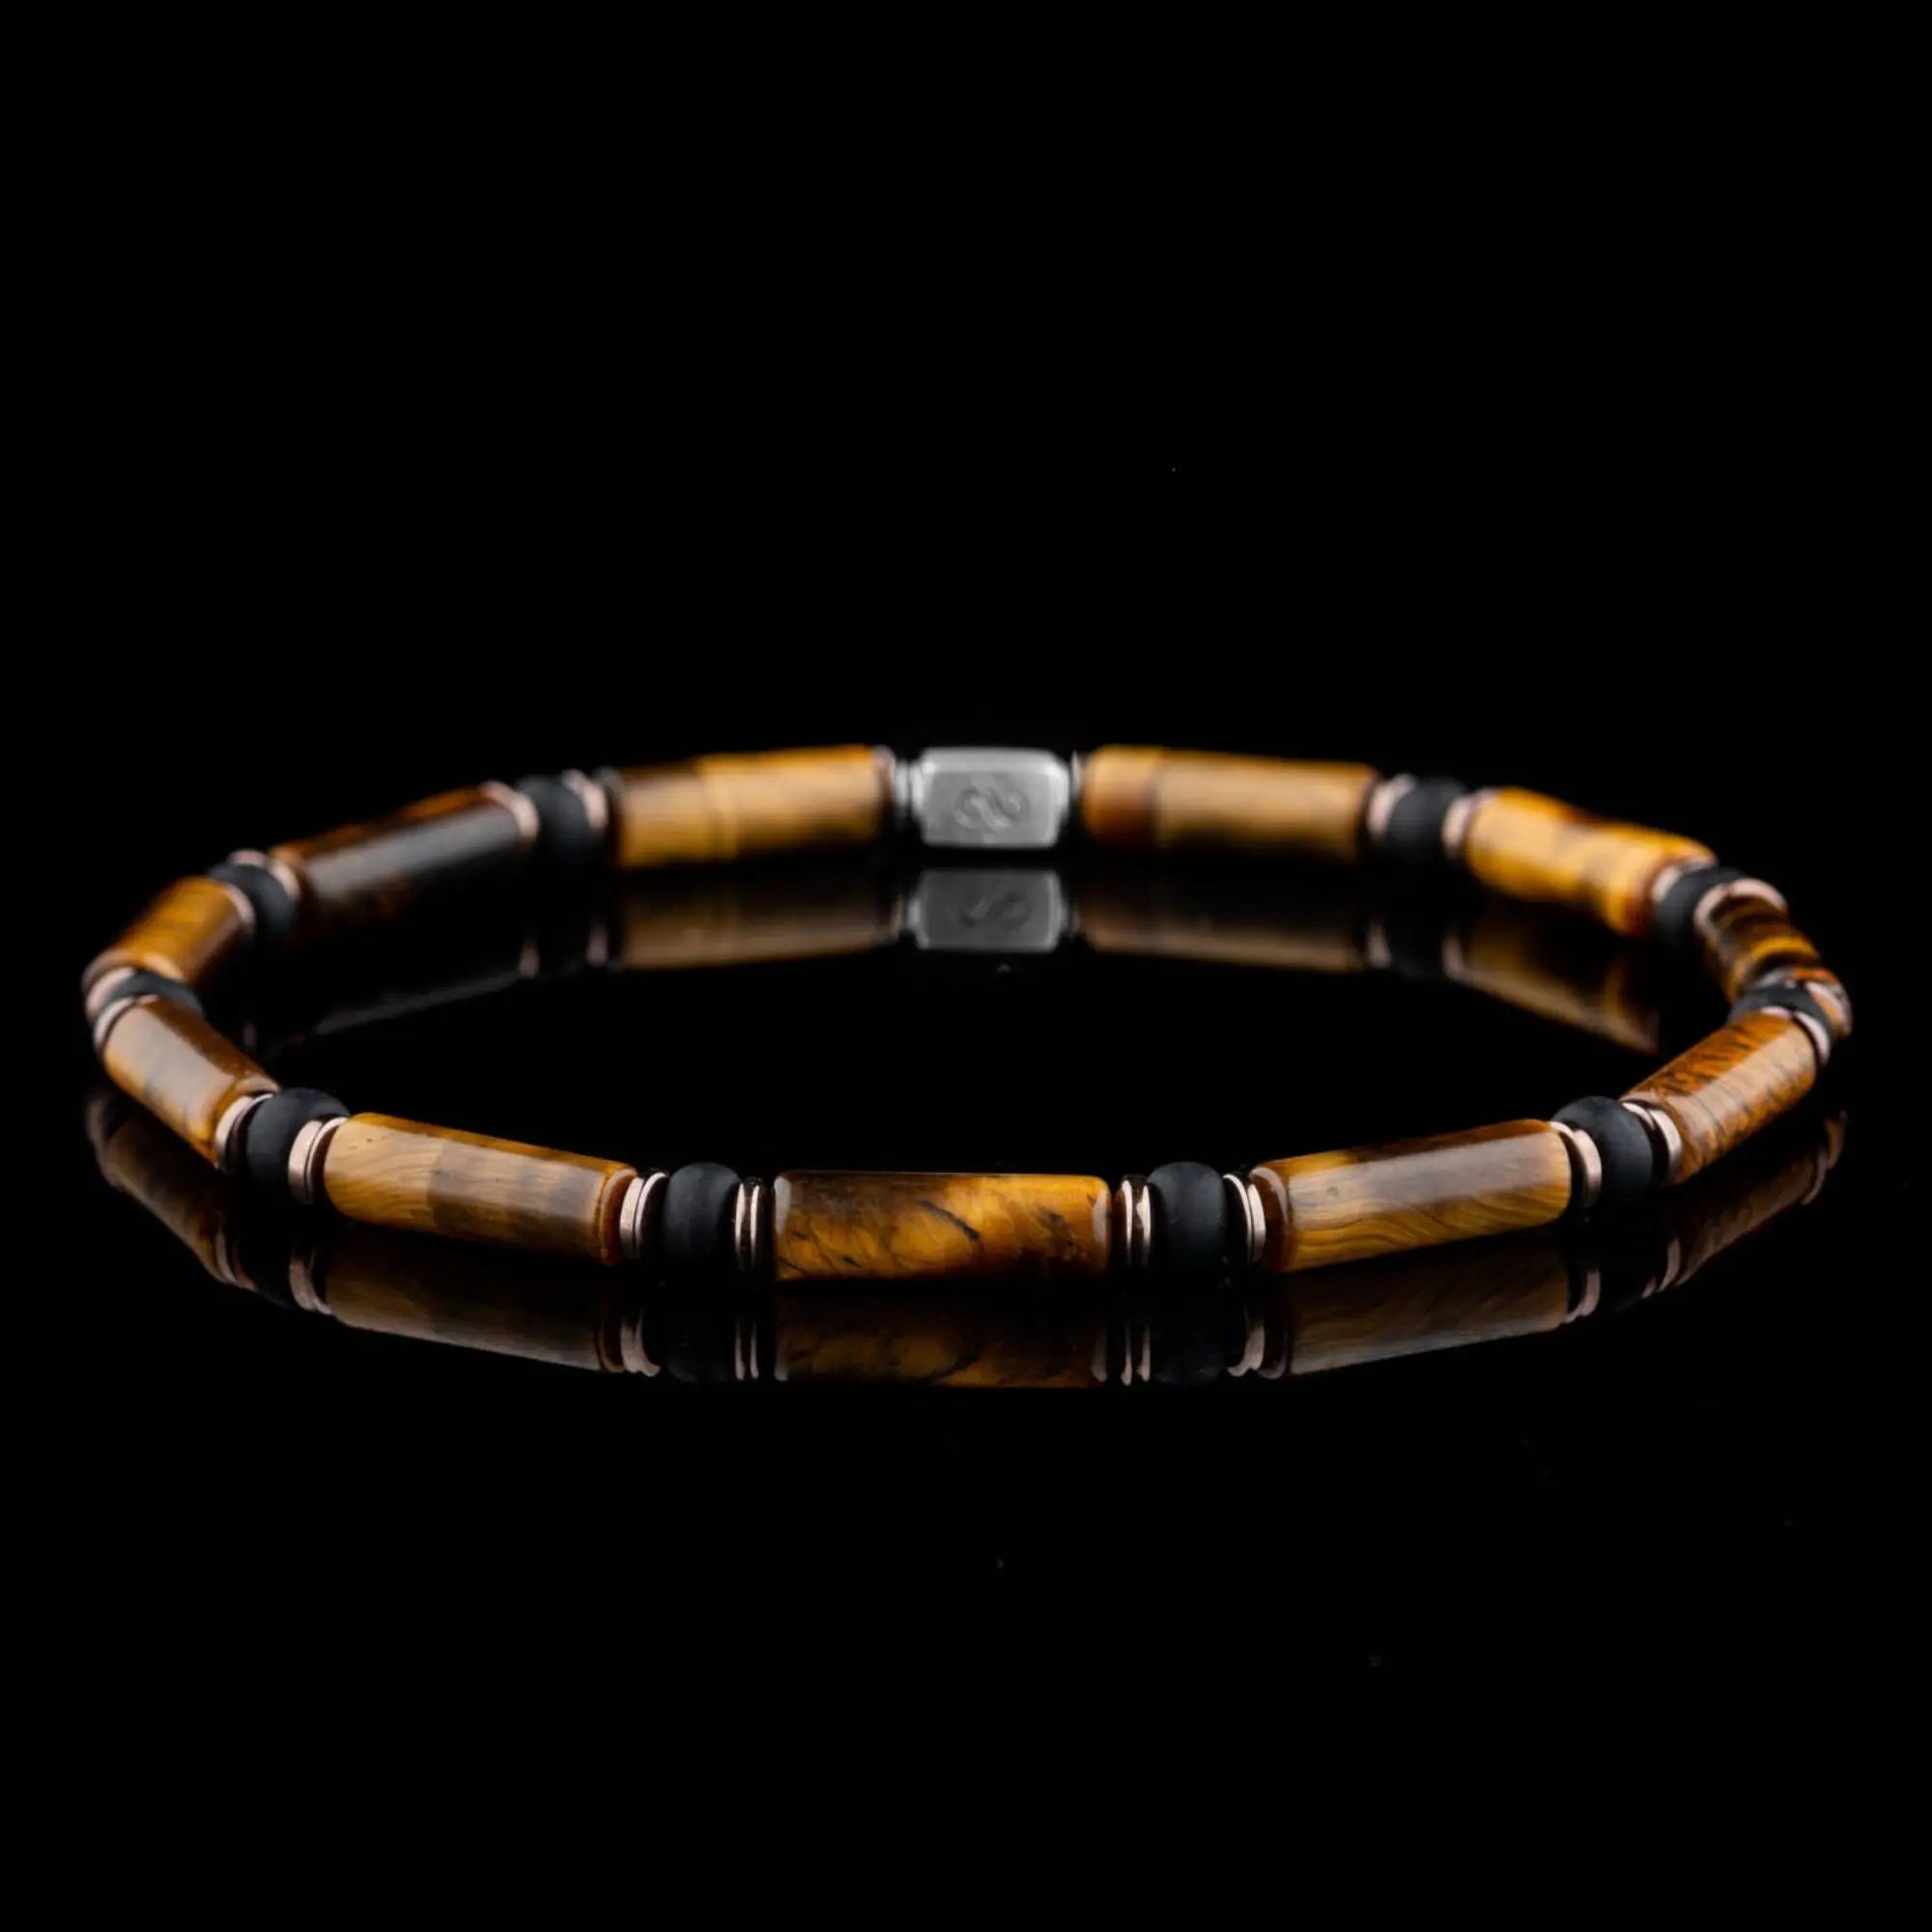
{ "title": "Tiger Eye Bracelet IV (4mm)", "url": "\/products\/parvus-tiger-eye-tube-4mm-silver-bracelet", "product_id":
6899297746998, "image": "\/\/aurumbrothers.com\/cdn\/shop\/files\/square1-TigerEyeBraceletIV_4mm_2.webp?v=1746154306\u0026width=600",
"price_html": "\u003cprice-list class=\"price-list \"\u003e\u003csale-price class=\"text-subdued\"\u003e\n \u003cspan class=\"sr-only\"\u003eSale price\u003c\/span\u003e180 USD\u003c\/sale-price\u003e\u003c\/price-list\u003e", "badge":
null
}
{ "title": "Landscape Jasper Bracelet IV (4mm)", "url": "\/products\/landscape-jasper-bracelet-iv", "image":
"\/\/aurumbrothers.com\/cdn\/shop\/files\/square1-LandscapeJasperBraceletIV_4mm_2.webp?v=1746155057\u0026width=600", "product_id":
6603597054006, "variant_id":
39550030970934, "price_html":
"\u003cprice-list class=\"price-list \"\u003e\u003csale-price class=\"text-subdued\"\u003e\n \u003cspan class=\"sr-only\"\u003eSale price\u003c\/span\u003e180 USD\u003c\/sale-price\u003e\u003c\/price-list\u003e", "badge":
null
}
{ "title": "Orange Aventurine Bracelet IV (4mm)", "url": "\/products\/orange-aventurine-bracelet-iv-4mm", "image":
"\/\/aurumbrothers.com\/cdn\/shop\/files\/square1-OrangeAventurineBraceletIV_4mm.webp?v=1746154082\u0026width=600", "product_id":
8564171243855, "variant_id":
46833457824079, "price_html":
"\u003cprice-list class=\"price-list \"\u003e\u003csale-price class=\"text-subdued\"\u003e\n \u003cspan class=\"sr-only\"\u003eSale price\u003c\/span\u003e180 USD\u003c\/sale-price\u003e\u003c\/price-list\u003e", "badge":
null
}
{ "title": "Dragon Blood Jasper V (4mm)", "url": "\/products\/parvus-dragon-blood-jasper-tube-4mm-silver-bracelet", "image":
"\/\/aurumbrothers.com\/cdn\/shop\/files\/Squareproductphoto-Square-DragonBloodJasperBraceletV_4mm.webp?v=1746154938\u0026width=600", "product_id":
6675503939638, "variant_id":
39877367169078, "price_html":
"\u003cprice-list class=\"price-list \"\u003e\u003csale-price class=\"text-subdued\"\u003e\n \u003cspan class=\"sr-only\"\u003eSale price\u003c\/span\u003e220 USD\u003c\/sale-price\u003e\u003c\/price-list\u003e", "badge":
null
}
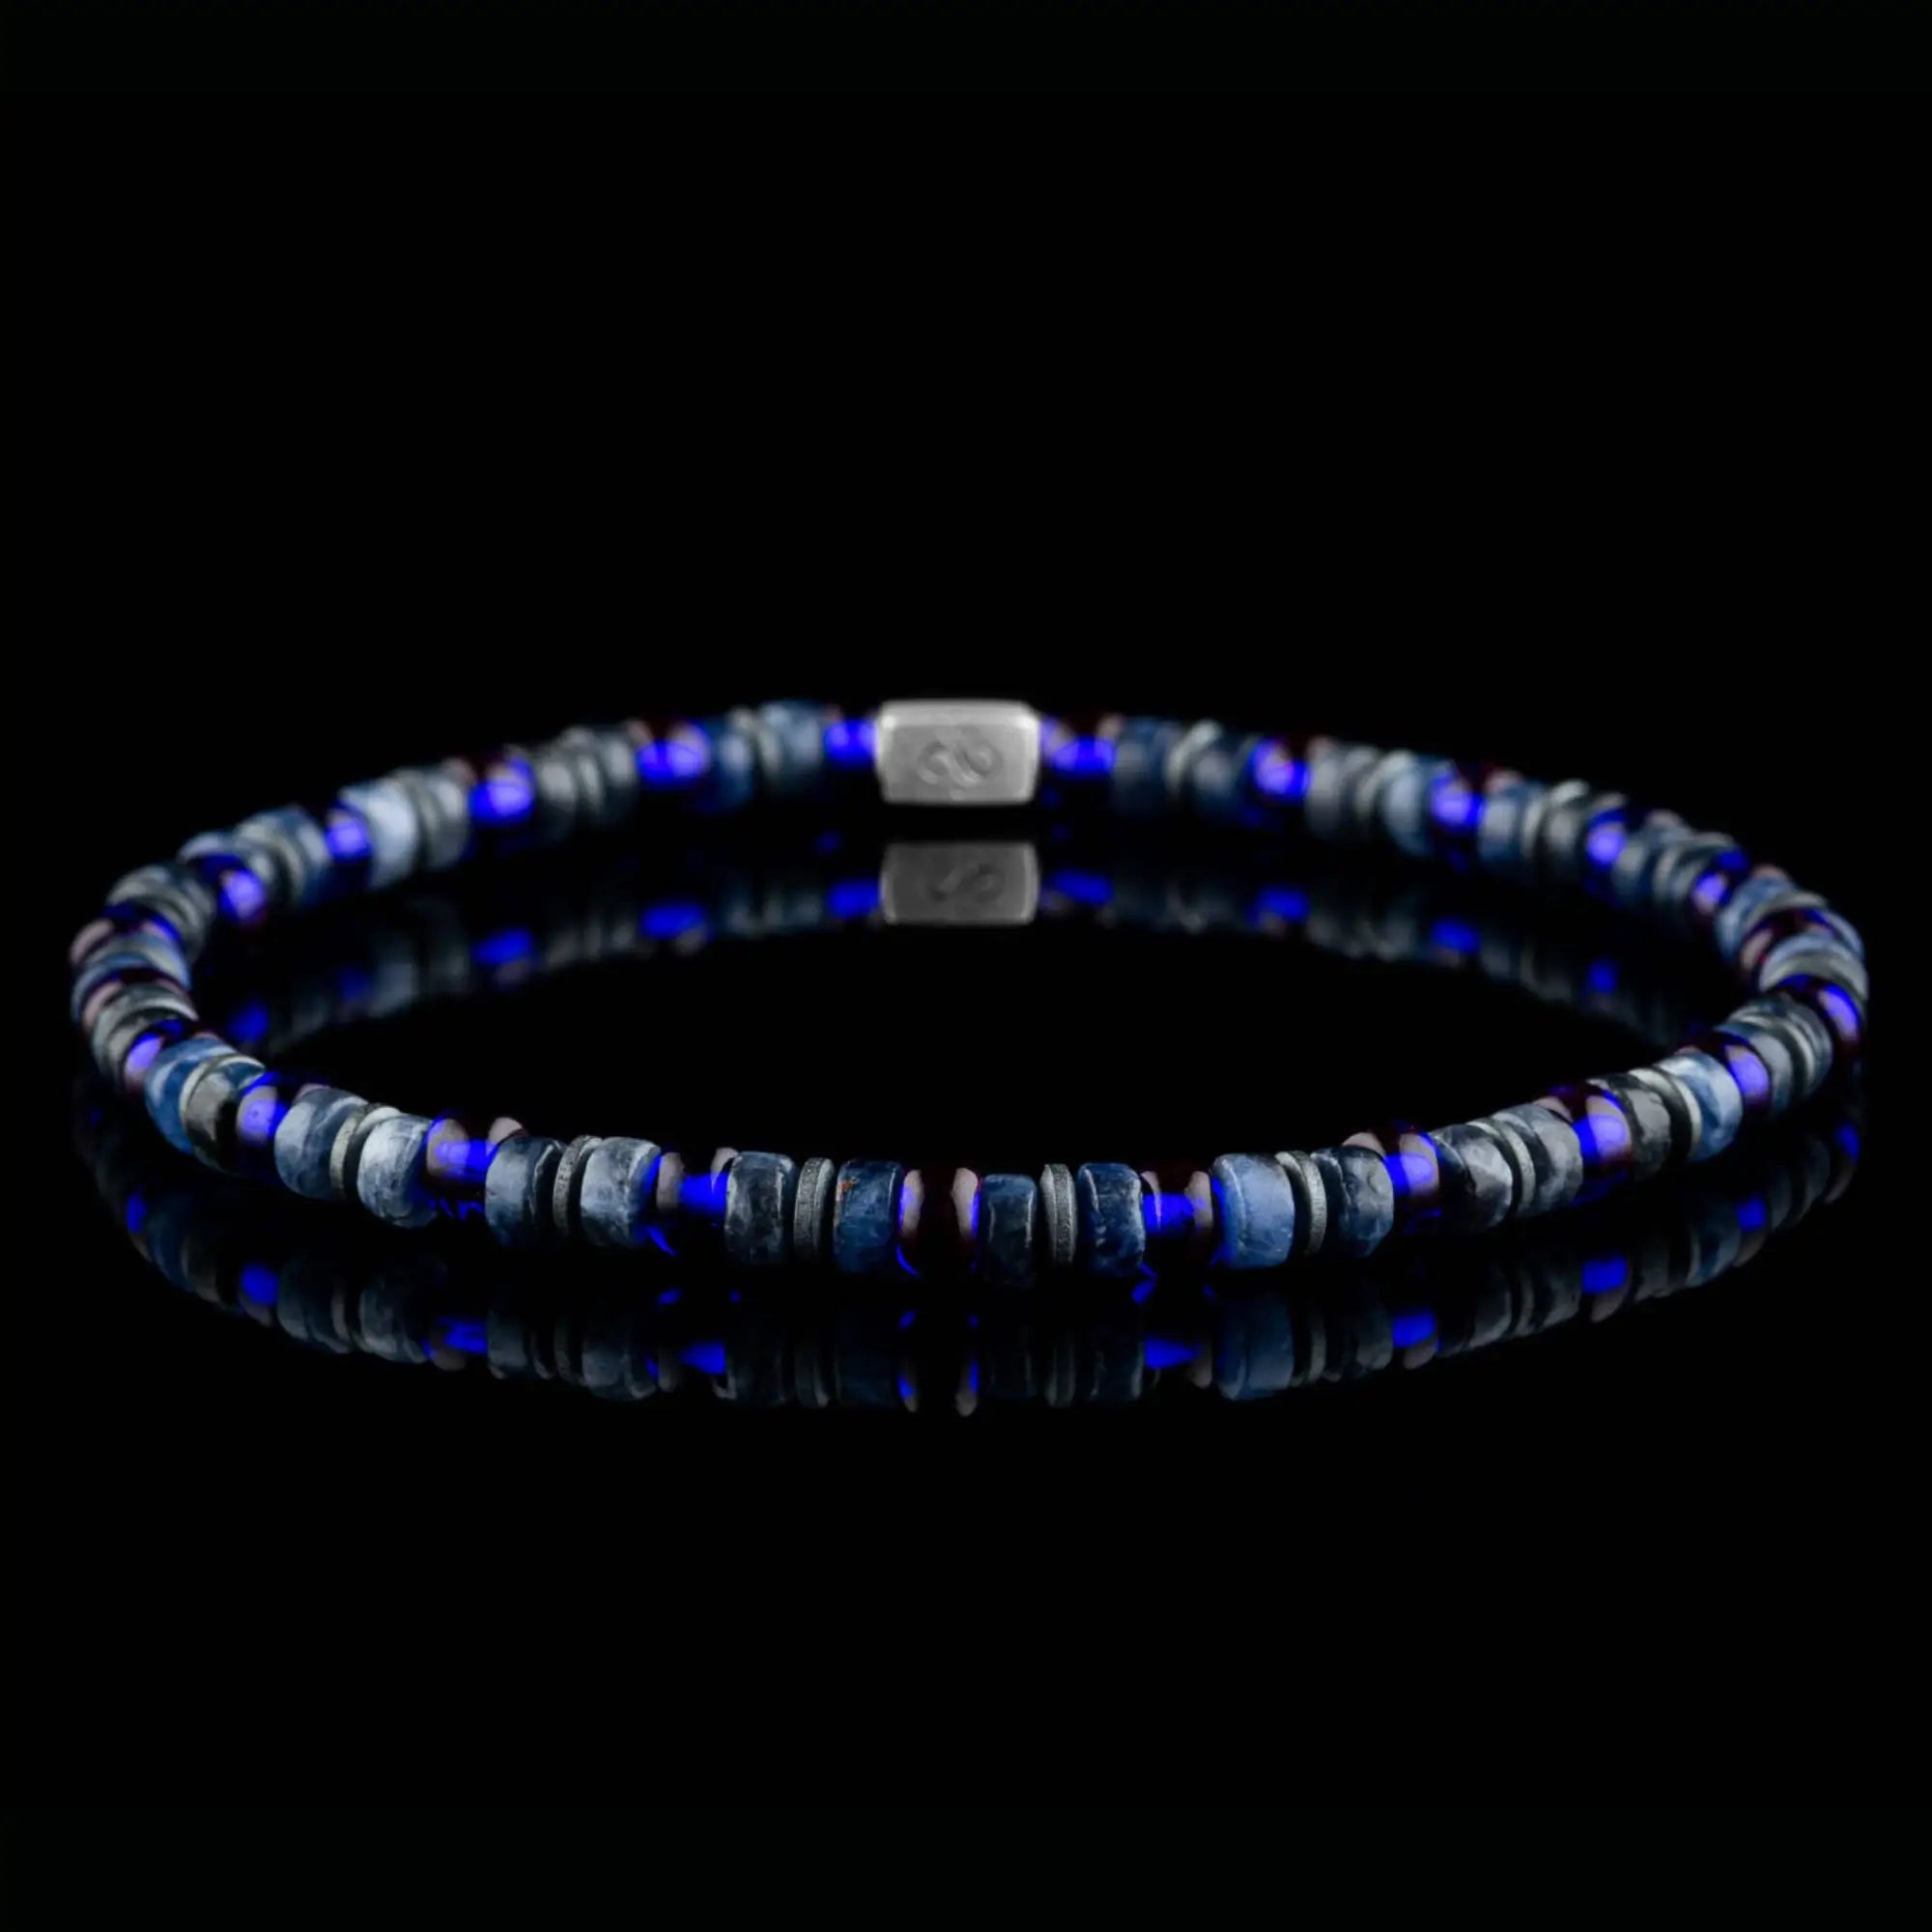
{ "title": "Sodalite Bracelet IV (4mm)", "url": "\/products\/parvus-sodalite-tube-4mm-silver-bracelet", "image":
"\/\/aurumbrothers.com\/cdn\/shop\/files\/square1-SodaliteBraceletIV_4mm_3.webp?v=1746299350\u0026width=600", "product_id":
6670863597622, "variant_id":
39857569988662, "price_html":
"\u003cprice-list class=\"price-list \"\u003e\u003csale-price class=\"text-subdued\"\u003e\n \u003cspan class=\"sr-only\"\u003eSale price\u003c\/span\u003e180 USD\u003c\/sale-price\u003e\u003c\/price-list\u003e", "badge":
null
}
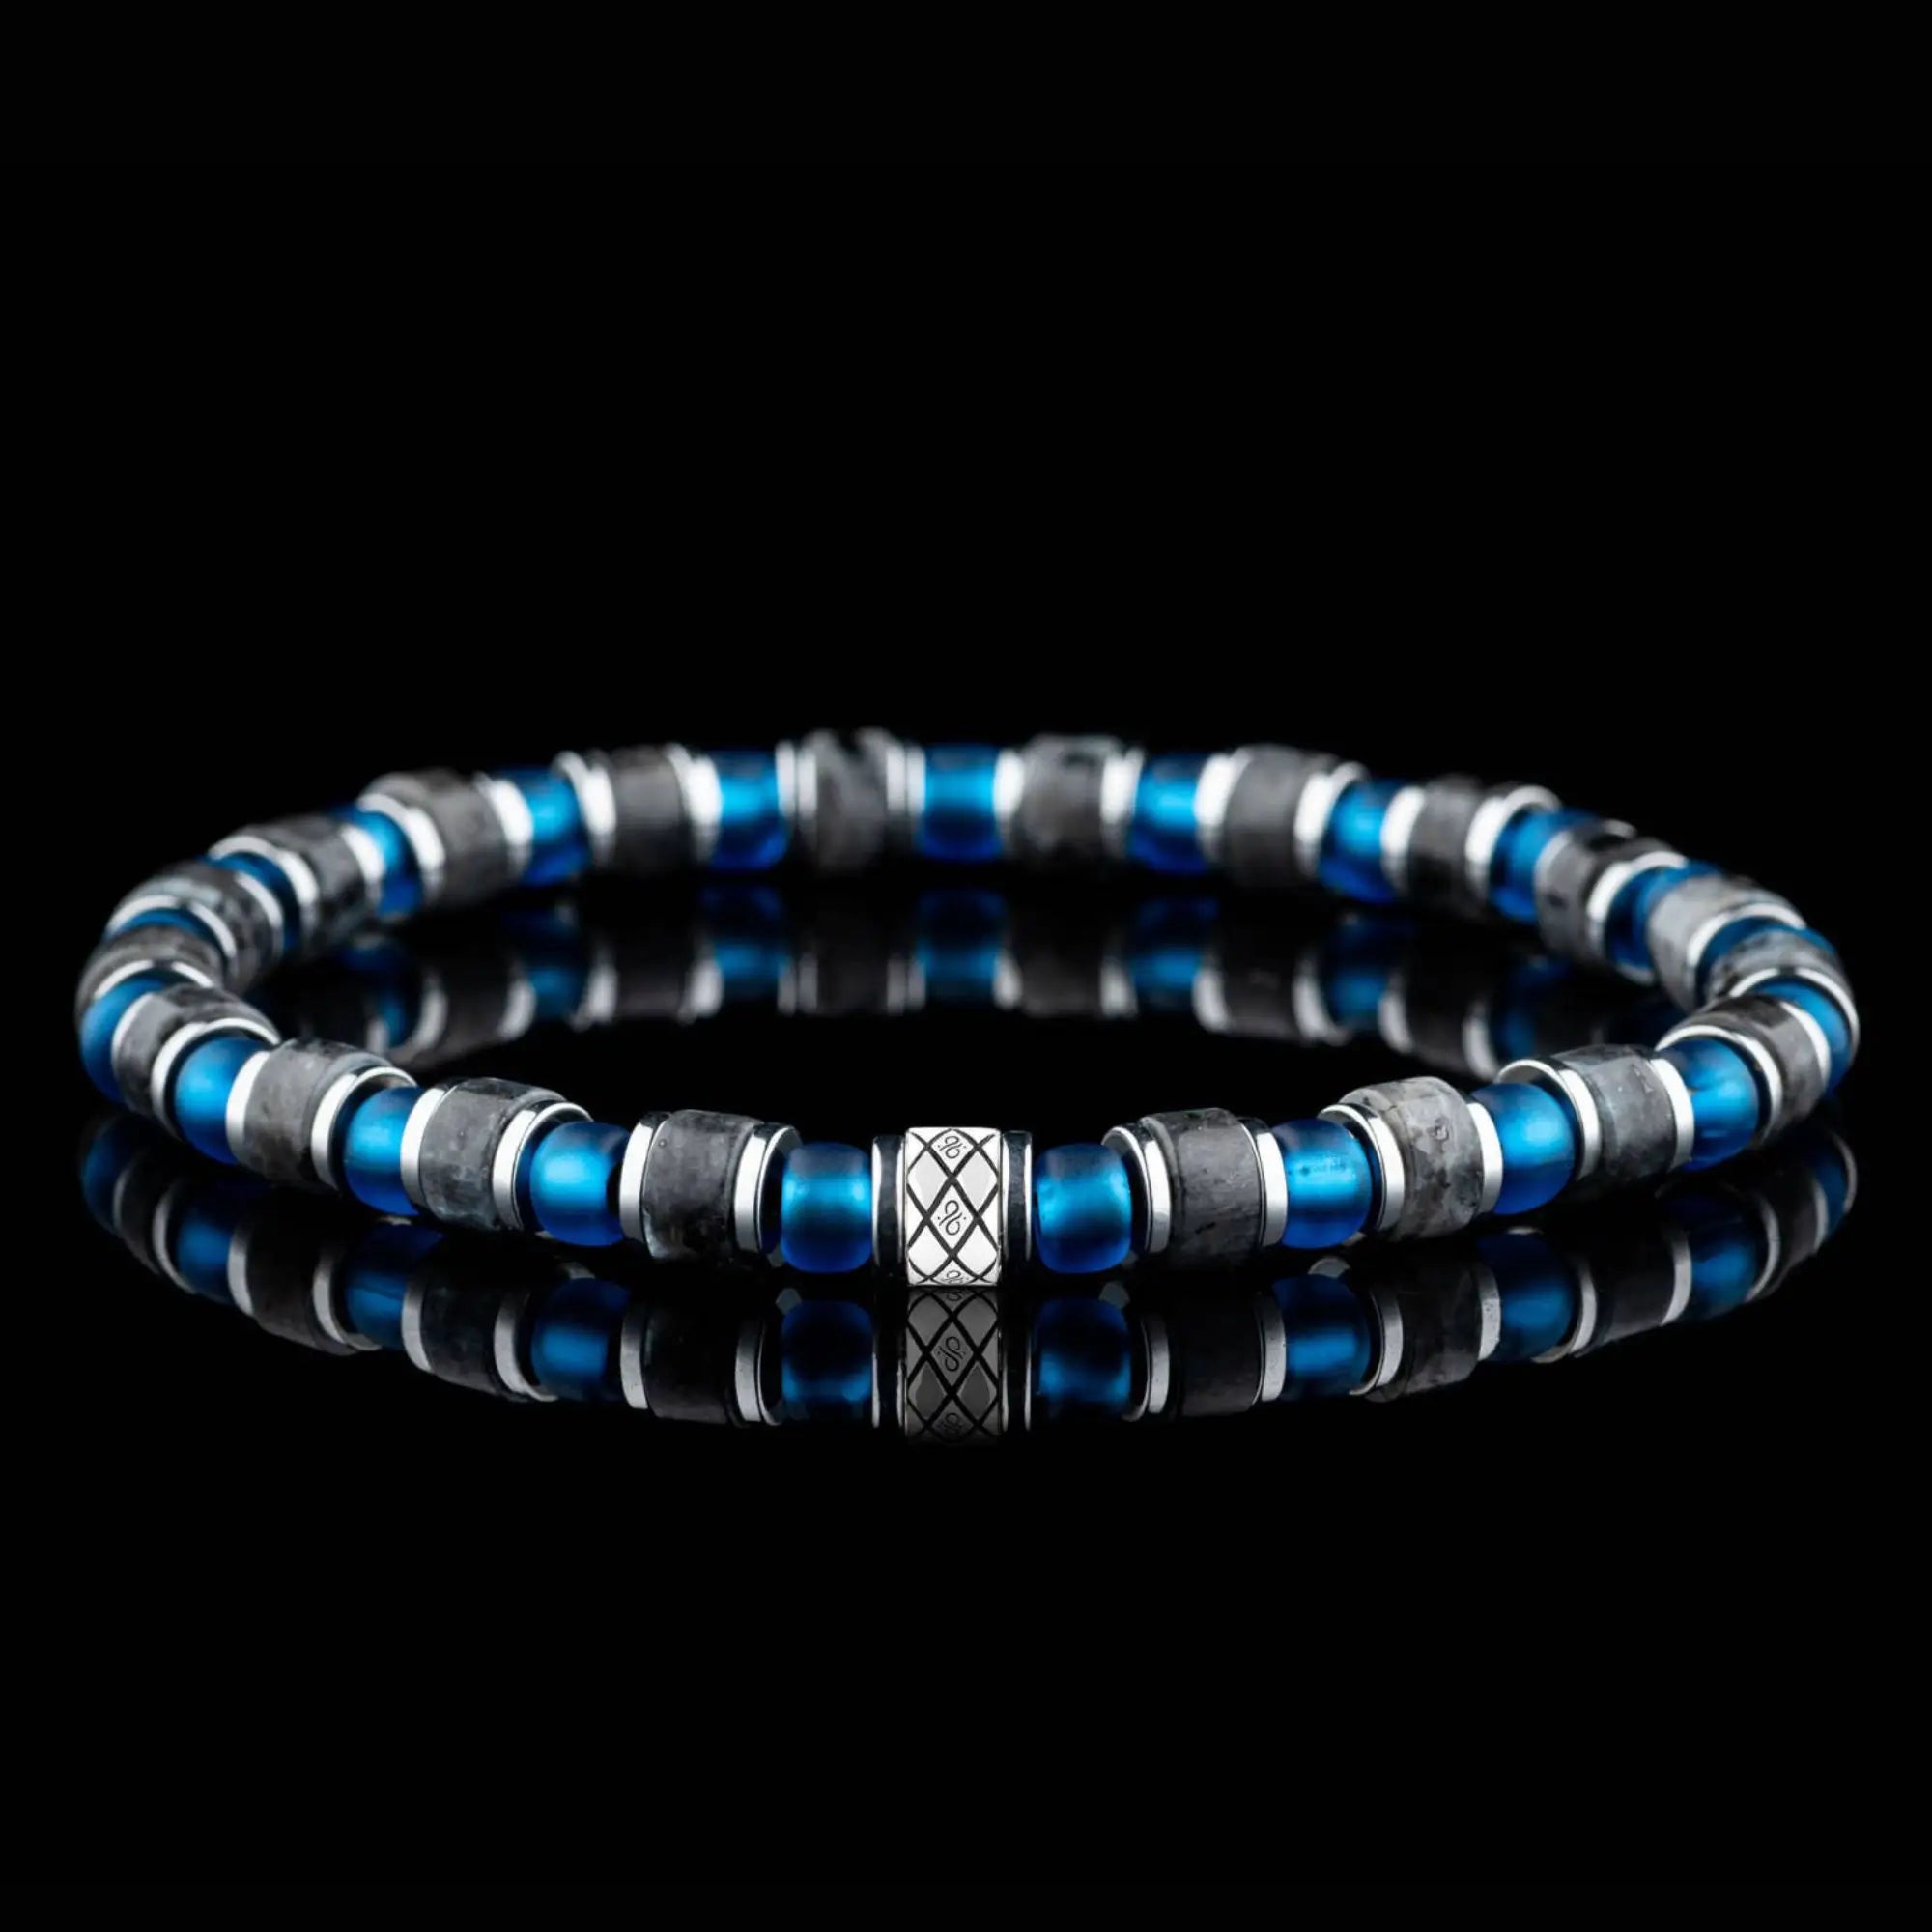
{ "title": "Labradorite Bracelet IV (6mm)", "url": "\/products\/abacus-labradorite-azure-blue-snake-6mm-silver-bracelet", "product_id":
6802498715702, "image": "\/\/aurumbrothers.com\/cdn\/shop\/files\/square1-LabradoriteBraceletIV_6mm_2.webp?v=1746154839\u0026width=600",
"price_html": "\u003cprice-list class=\"price-list \"\u003e\u003csale-price class=\"text-subdued\"\u003e\n \u003cspan class=\"sr-only\"\u003eSale price\u003c\/span\u003e260 USD\u003c\/sale-price\u003e\u003c\/price-list\u003e", "badge":
null
}
{ "title": "Dark Hematite Blue Bracelet I (6mm)", "url": "\/products\/dark-hematite-blue-bracelet-i-6mm", "image":
"\/\/aurumbrothers.com\/cdn\/shop\/files\/square1-DarkHematiteBlueBraceletI_6mm_1.webp?v=1746154002\u0026width=600", "product_id":
8675119661391, "variant_id":
47312610754895, "price_html":
"\u003cprice-list class=\"price-list \"\u003e\u003csale-price class=\"text-subdued\"\u003e\n \u003cspan class=\"sr-only\"\u003eSale price\u003c\/span\u003e180 USD\u003c\/sale-price\u003e\u003c\/price-list\u003e", "badge":
null
}
{ "title": "Hematite - Grey\/White Bracelet I (6mm)", "url": "\/products\/hematite-grey-white-bracelet-i-6mm", "image":
"\/\/aurumbrothers.com\/cdn\/shop\/files\/square1-Hematite-GreyWhiteBraceletI_6mm_48a1dc37-6e92-4a7a-a1a4-8c0c95bee333.webp?v=1746153590\u0026width=600", "product_id":
9310181458255, "variant_id":
48998305071439, "price_html":
"\u003cprice-list class=\"price-list \"\u003e\u003csale-price class=\"text-subdued\"\u003e\n \u003cspan class=\"sr-only\"\u003eSale price\u003c\/span\u003e260 USD\u003c\/sale-price\u003e\u003c\/price-list\u003e", "badge":
null
}
{ "title": "Orange Aventurine Bracelet V (6mm)", "url": "\/products\/orange-aventurine-bracelet-v-6mm", "image":
"\/\/aurumbrothers.com\/cdn\/shop\/files\/square1-OrangeAventurineBraceletV_6mm.webp?v=1746154074\u0026width=600", "product_id":
8564174815567, "variant_id":
46833472635215, "price_html":
"\u003cprice-list class=\"price-list \"\u003e\u003csale-price class=\"text-subdued\"\u003e\n \u003cspan class=\"sr-only\"\u003eSale price\u003c\/span\u003e260 USD\u003c\/sale-price\u003e\u003c\/price-list\u003e", "badge":
null
}
View Products

{ "title": "Moss Agate Silver Pendant", "url": "\/products\/moss-agate-silver-pendant", "product_id":
15355200209279, "image": "\/\/aurumbrothers.com\/cdn\/shop\/files\/MossAgateSilverPendant-solo-productshot.webp?v=1761399447\u0026width=600",
"price_html": "\u003cprice-list class=\"price-list \"\u003e\u003csale-price class=\"text-subdued\"\u003e\n \u003cspan class=\"sr-only\"\u003eSale price\u003c\/span\u003e230 USD\u003c\/sale-price\u003e\u003c\/price-list\u003e", "badge":
null
}
{ "title": "Blue Lace Agate Silver Pendant", "url": "\/products\/labradorite-silver-pendant-copy", "image":
"\/\/aurumbrothers.com\/cdn\/shop\/files\/BlueLaceAgateSilverPendant-solo-productshot.webp?v=1761401457\u0026width=600", "product_id":
15355346321791, "variant_id":
56280172429695, "price_html":
"\u003cprice-list class=\"price-list \"\u003e\u003csale-price class=\"text-subdued\"\u003e\n \u003cspan class=\"sr-only\"\u003eSale price\u003c\/span\u003e230 USD\u003c\/sale-price\u003e\u003c\/price-list\u003e", "badge":
null
}
{ "title": "Labradorite Silver Pendant", "url": "\/products\/labradorite-silver-pendant", "image":
"\/\/aurumbrothers.com\/cdn\/shop\/files\/LabradoriteSilverPendant.webp?v=1761399408\u0026width=600", "product_id":
15355205583231, "variant_id":
56279522967935, "price_html":
"\u003cprice-list class=\"price-list \"\u003e\u003csale-price class=\"text-subdued\"\u003e\n \u003cspan class=\"sr-only\"\u003eSale price\u003c\/span\u003e230 USD\u003c\/sale-price\u003e\u003c\/price-list\u003e", "badge":
null
}
{ "title": "Blue Lace Agate Silver Pendant", "url": "\/products\/labradorite-silver-pendant-copy", "product_id":
15355346321791, "image": "\/\/aurumbrothers.com\/cdn\/shop\/files\/BlueLaceAgateSilverPendant-solo-productshot.webp?v=1761401457\u0026width=600",
"price_html": "\u003cprice-list class=\"price-list \"\u003e\u003csale-price class=\"text-subdued\"\u003e\n \u003cspan class=\"sr-only\"\u003eSale price\u003c\/span\u003e230 USD\u003c\/sale-price\u003e\u003c\/price-list\u003e", "badge":
null
}
{ "title": "Labradorite Silver Pendant", "url": "\/products\/labradorite-silver-pendant", "image":
"\/\/aurumbrothers.com\/cdn\/shop\/files\/LabradoriteSilverPendant.webp?v=1761399408\u0026width=600", "product_id":
15355205583231, "variant_id":
56279522967935, "price_html":
"\u003cprice-list class=\"price-list \"\u003e\u003csale-price class=\"text-subdued\"\u003e\n \u003cspan class=\"sr-only\"\u003eSale price\u003c\/span\u003e230 USD\u003c\/sale-price\u003e\u003c\/price-list\u003e", "badge":
null
}
{ "title": "Moss Agate Silver Pendant", "url": "\/products\/moss-agate-silver-pendant", "image":
"\/\/aurumbrothers.com\/cdn\/shop\/files\/MossAgateSilverPendant-solo-productshot.webp?v=1761399447\u0026width=600", "product_id":
15355200209279, "variant_id":
56279503864191, "price_html":
"\u003cprice-list class=\"price-list \"\u003e\u003csale-price class=\"text-subdued\"\u003e\n \u003cspan class=\"sr-only\"\u003eSale price\u003c\/span\u003e230 USD\u003c\/sale-price\u003e\u003c\/price-list\u003e", "badge":
null
}